

Spring Boot Profile
Spring profile is a feature of the Spring framework that allows us to map a part of our application or the complete application to different profiles. i.e., environments (dev, uat or prod). Any @Component or the @Configurations of an application can be marked with the @Profile annotation to limit its scope to a specific profile or environment when the application is loaded.
import org.springframework.context.annotation.Configuration;
import org.springframework.context.annotation.Profile;

@Configuration
@Profile("dev")
public class DevelopmentConfigurations {
	//...
}
Whenever enterprise applications are developed, they are generally developed in the development environment, and after that, they are moved to testing and then to the production environment. When that application is being developed, there may be a possibility that it uses different configurations for the database, server address, or some API key. Similarly, the testing environment may have different configurations, and the production environment may have different configurations.
To handle the above scenario, we need a different application.properties file for different environments. The file name for different environment can be named as application-environment_name.properties. We can name the different environment properties files as follows:
| Configuration File | Environments |
| application-dev.properties | Configuration file for development environment |
| application-uat.properties | Configuration file for testing environment |
| application-prod.properties | Configuration file for production environment |
Profiling in Spring Boot
In this tutorial, we will create a Spring Boot project and configure our application. properties file for different environments (dev, uat, and prod) and do the spring boot profile.
Step 1- Create Spring Boot project
To create a new project in Spring Boot, please refer to How to Create a Spring Boot Project Note that you must select Maven as the project type.
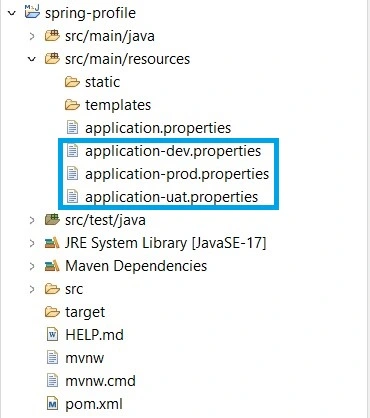
Step 2- Create properties file for different environments
We are required to create the properties file for different environments for spring profiling, namely for dev, uat and prod. For this, Right-Click on resources > New > File > Name as application–environment_name.properties.
Step 3- Adding configurations
We need to add the different configurations corresponding to different environments to the different properties files. For testing the application, we will change only the server port for dev, uat and prod. To set the port number, we need to use the following configuration:
#server configurations
server.port=8081
We are using the following port numbers corresponding to the different environments in different properties files:
| Environment | Server Port Number |
| dev | 8081 |
| uat | 8082 |
| prod | 8083 |
Step 4- Adding Spring profile configurations
In order to active any specific profile or environments we need to add configuration in our default application.properties file. We use the following configuration to activate the specific environment:
#In our example, environment_name can be dev, uat or prod
spring.profiles.active=environment_name
Step 5- Testing our application
Now, we test our application for different profiles. First, we activate our dev profile. For this, we will add the following configuration in our default application.properties file.
#default properties file
spring.profiles.active=dev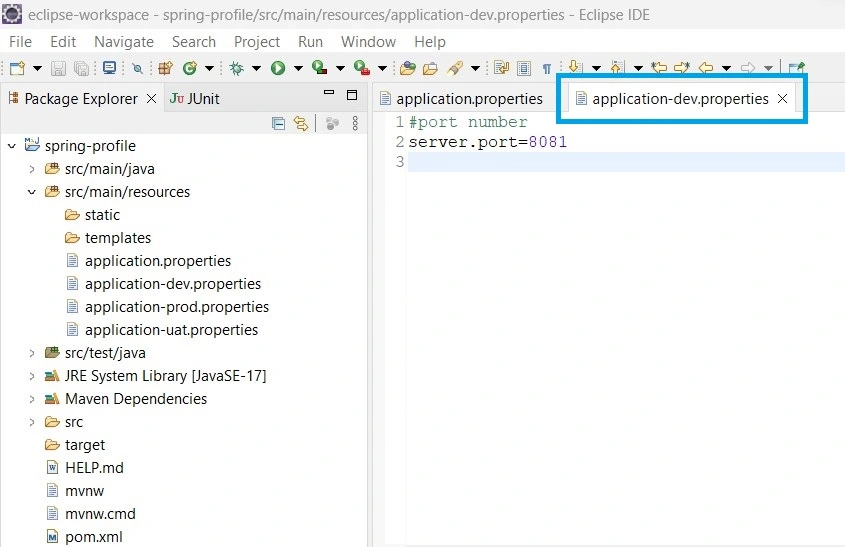
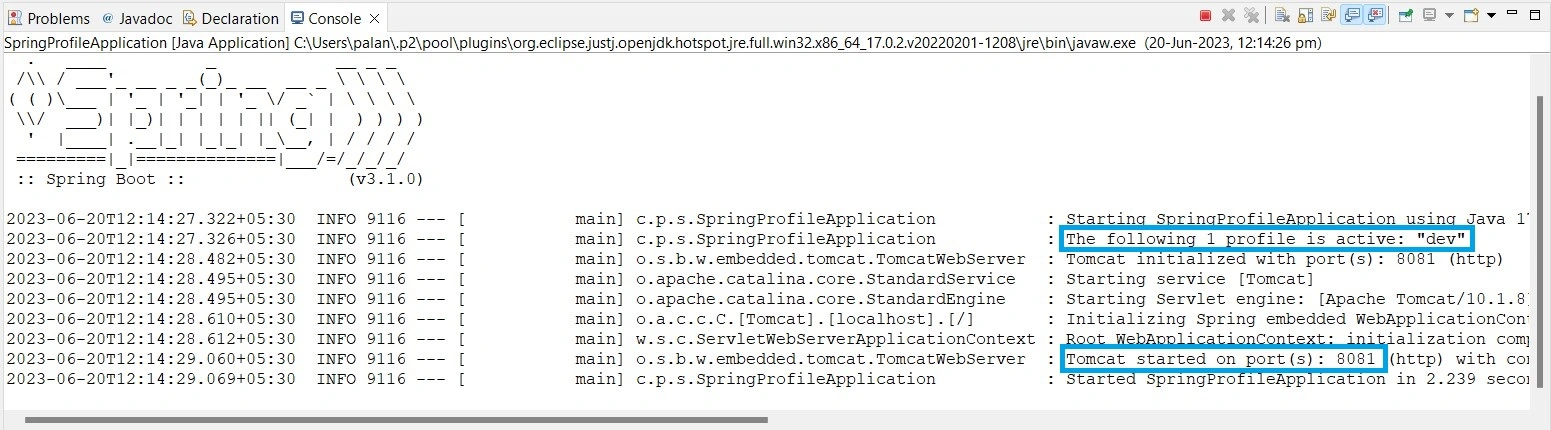
As we can see, for the development environment, we have configured the port number to be 8081. Now, we will run our application and check which profile is activated.
Similarly, to activate the UAT or PROD profile, we need to configure it first in our default application. properties file and then run our application.
How to set spring.active.profile at runtime?
To set or specify the Spring profile at runtime, we can use the Run Configuration in our development environment. By adding -Dspring.profiles.active=dev in the configuration, we set the profile to dev. Then, we run our application with this specific environment setup.
Great article! Your comprehensive guide on configuring different environments in Spring Boot using profiles is clear, informative, and practical.