

Angular is an open-source, Typescript based web application framework that runs on Node.js. In this article, we’ll learn how to create a real time weather app using Angular that retrieves weather information based on the name of the city.
Steps to build real time weather app
Step 1- Create angular project
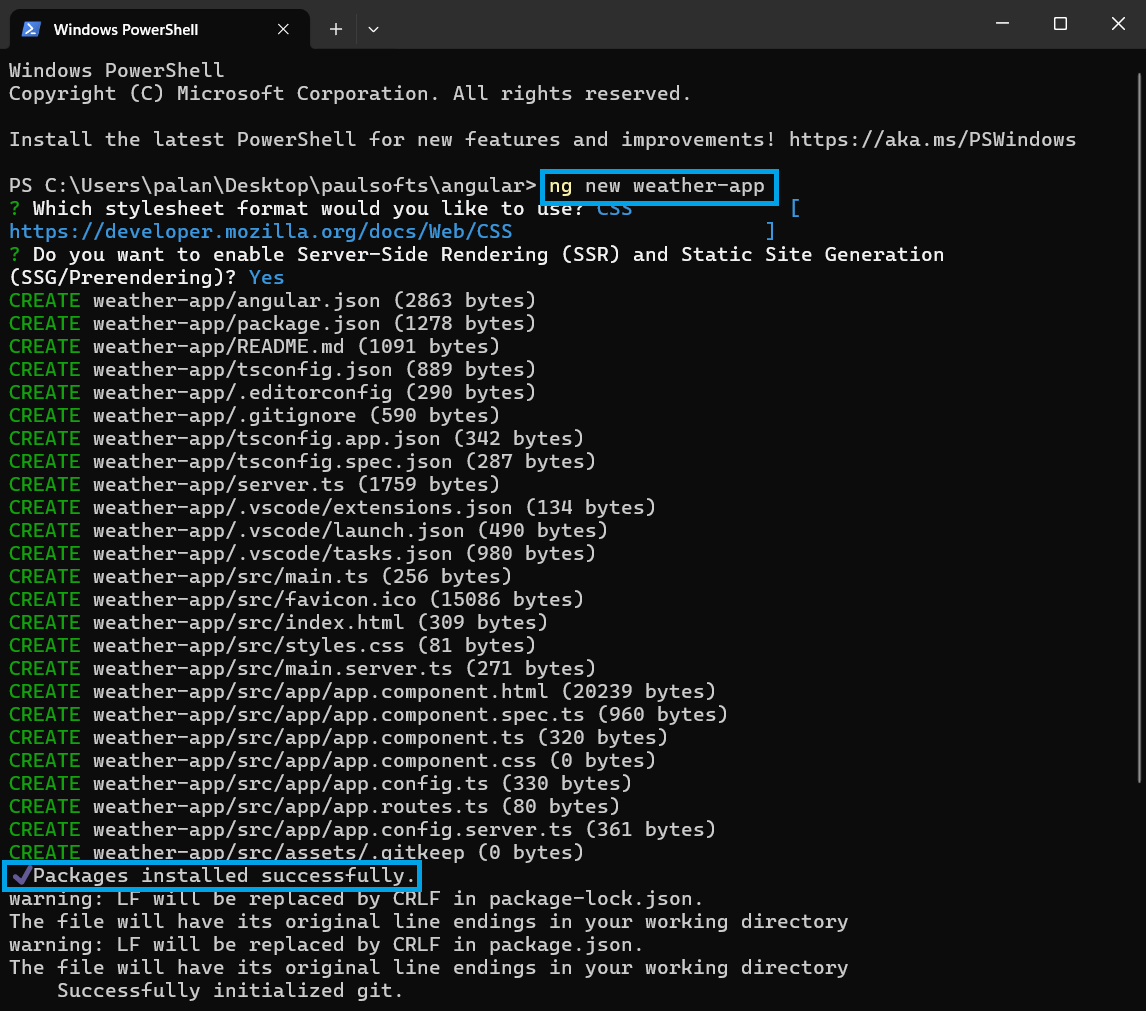
First, we will create a new angular project. For this, go to the directory, open a terminal, and use the following command:
ng new <project-name>Below, we have created a new project with the name weather-app. Once we enter the above command, it will ask for a few queries, such as stylesheet format (choose CSS) and server-side rendering (press y).
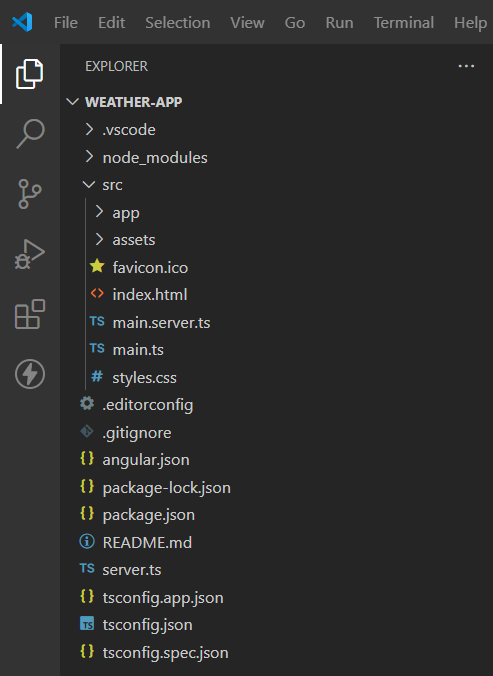
Now we open our project in Visual Studio. For this, we just need to open the Visual Studio IDE and drag our project into it. This will add the project to the visual studio workspace. Once we drop our project in Visual Studio, it will ask whether you trust the owner or not. Press Yes.
Step 2- Run angular app
As we have imported our angular app in Visual Studio, we will run our app. For this, we will use terminal.
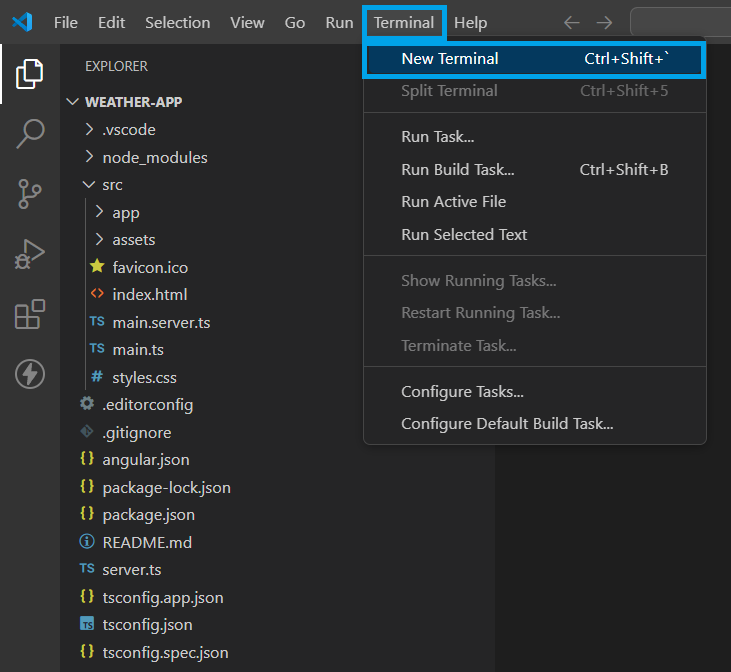
We will use the following command:
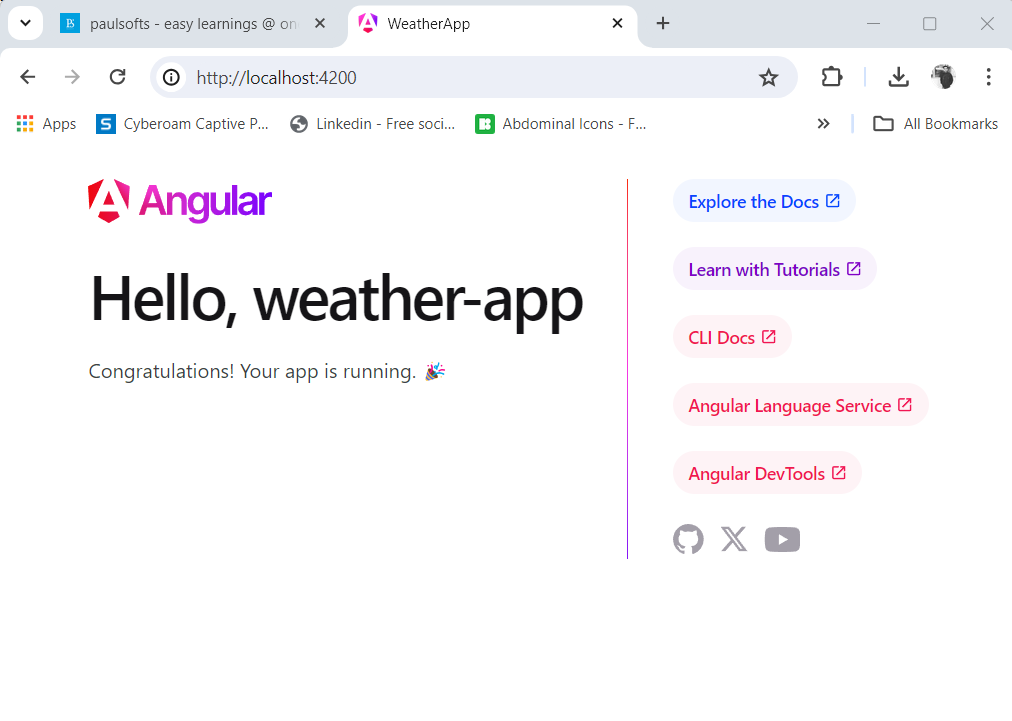
ng serveThe above command will build, run, and deploy our application on the Angular Live Development Server. Make sure to execute the command in the root directory (here, weather-app).
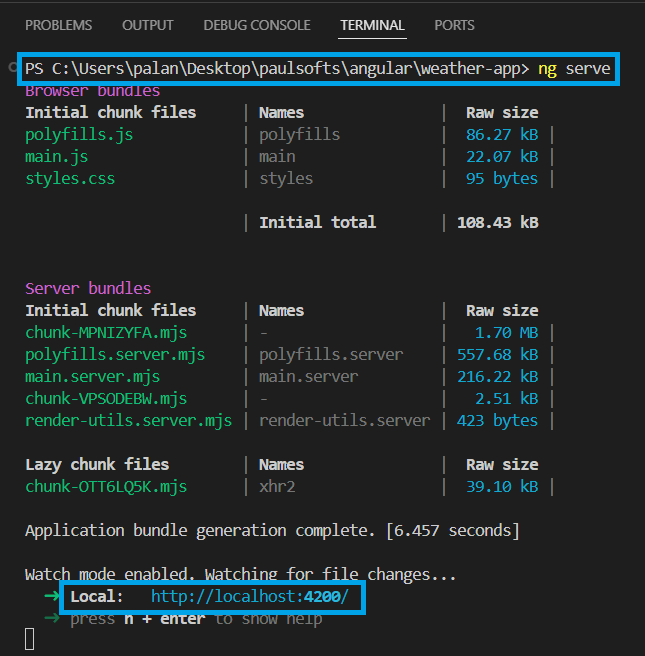
This will deploy our application, which will be accessible at localhost:4200.
Step 3- Adding HTML and CSS
Now, we remove the default HTML from our app.component.html and add the following HTML code:
<div class="mainDIv">
   <div class="container">
      <div class="weather-side">
         <div class="weather-gradient"></div>
         <div class="date-container">
            <!-- {{todayDate}} : This is know as interpolation, used to bind data from component class to HTML template -->
            <!-- Built-in DatePipe is used to format date -->
            <h2 class="date-dayname">{{todayDate | date: 'EEEE'}}</h2>
            <span class="date-day">{{todayDate | date:'MMMM Y'}}</span><i class="location-icon" data-feather="map-pin"></i><span class="location">{{location}}</span>
         </div>
         <div class="weather-container">
            <i class="weather-icon" data-feather="sun"></i>
            <h1 class="weather-temp">{{temp}}°C</h1>
            <h3 class="weather-desc">{{condition}}</h3>
         </div>
      </div>
      <div class="info-side">
         <div class="today-info-container">
            <div class="today-info">
               <div class="precipitation">
                  <span class="title">Precipitation</span><span class="value">{{precipitation}} %</span>
                  <div class="clear"></div>
               </div>
               <div class="humidity">
                  <span class="title">HUMIDITY</span><span class="value">{{humidity}} %</span>
                  <div class="clear"></div>
               </div>
               <div class="wind">
                  <span class="title">WIND</span><span class="value">{{wind}} km/h</span>
                  <div class="clear"></div>
               </div>
            </div>
         </div>
         <div class="week-container">
            <ul class="week-list">
               <li class="active"><i class="day-icon" data-feather="sun"></i><span class="day-name">Mon</span><span class="day-temp">29°C</span></li>
               <li><i class="day-icon" data-feather="cloud-rain"></i><span class="day-name">Tue</span><span class="day-temp">19°C</span></li>
               <li><i class="day-icon" data-feather="cloud"></i><span class="day-name">Wed</span><span class="day-temp">21°C</span></li>
               <li><i class="day-icon" data-feather="cloud-snow"></i><span class="day-name">Thu</span><span class="day-temp">08°C</span></li>
               <li><i class="day-icon" data-feather="cloud-rain"></i><span class="day-name">Fry</span><span class="day-temp">19°C</span></li>
               <li><i class="day-icon" data-feather="cloud-rain"></i><span class="day-name">Sat</span><span class="day-temp">19°C</span></li>
               <li><i class="day-icon" data-feather="cloud-rain"></i><span class="day-name">Sun</span><span class="day-temp">19°C</span></li>
               <div class="clear"></div>
            </ul>
         </div>
         <div>
            <input type="text" id="cityName" class="form-control"  placeholder="Search...">
         </div>
         <!--This is the button that is used to fetch weather details using the location-->
         <div class="location-container">
            <button class="location-button" type="button" (click)="changeLocation()"> <i data-feather="map-pin"></i><span>Change location</span></button>
         </div>
      </div>
   </div>
</div>
The corresponding CSS for the above HTML, please add this in app.component.css file.
@import url('https://fonts.googleapis.com/css?family=Montserrat:400,700,900&display=swap');
:root {
--gradient: linear-gradient( 135deg, #72EDF2 10%, #5151E5 100%);
}
* {
-webkit-box-sizing: border-box;
box-sizing: border-box;
line-height: 1.25em;
}
.clear {
clear: both;
}
body {
margin: 0;
width: 100%;
height: 100vh;
font-family: 'Montserrat', sans-serif;
background-color: #343d4b;
display: -webkit-box;
display: -ms-flexbox;
display: flex;
-webkit-box-align: center;
-ms-flex-align: center;
align-items: center;
-webkit-box-pack: center;
-ms-flex-pack: center;
justify-content: center;
}
.container {
border-radius: 25px;
-webkit-box-shadow: 0 0 70px -10px rgba(0, 0, 0, 0.2);
box-shadow: 0 0 70px -10px rgba(0, 0, 0, 0.2);
background-color: #222831;
color: #ffffff;
height: 400px;
}
.weather-side {
position: relative;
height: 100%;
border-radius: 25px;
background-image: url("https://images.unsplash.com/photo-1559963110-71b394e7494d?ixlib=rb-1.2.1&ixid=eyJhcHBfaWQiOjEyMDd9&auto=format&fit=crop&w=675&q=80");
width: 300px;
-webkit-box-shadow: 0 0 20px -10px rgba(0, 0, 0, 0.2);
box-shadow: 0 0 20px -10px rgba(0, 0, 0, 0.2);
-webkit-transition: -webkit-transform 300ms ease;
transition: -webkit-transform 300ms ease;
-o-transition: transform 300ms ease;
transition: transform 300ms ease;
transition: transform 300ms ease, -webkit-transform 300ms ease;
-webkit-transform: translateZ(0) scale(1.02) perspective(1000px);
transform: translateZ(0) scale(1.02) perspective(1000px);
float: left;
}
.weather-side:hover {
-webkit-transform: scale(1.1) perspective(1500px) rotateY(10deg);
transform: scale(1.1) perspective(1500px) rotateY(10deg);
}
.weather-gradient {
position: absolute;
width: 100%;
height: 100%;
top: 0;
left: 0;
background-image:linear-gradient( 135deg, #72EDF2 10%, #5151E5 100%);
border-radius: 25px;
opacity: 0.8;
}
.container{width: 70%;}
.date-container {
position: absolute;
top: 25px;
left: 25px;
}
.date-dayname {
margin: 0;
}
.date-day {
display: block;
}
.location {
display: inline-block;
margin-top: 10px;
}
.location-icon {
display: inline-block;
height: 0.8em;
width: auto;
margin-right: 5px;
}
.weather-container {
position: absolute;
bottom: 25px;
left: 25px;
}
.weather-icon.feather {
height: 60px;
width: auto;
}
.weather-temp {
margin: 0;
font-weight: 700;
font-size: 4em;
}
.weather-desc {
margin: 0;
}
.info-side {
position: relative;
float: left;
height: 100%;
padding-top: 25px;
}
.today-info {
padding: 15px;
margin: 0 25px 25px 25px;
box-shadow: 0 0 50px -5px rgba(0, 0, 0, 0.25);
border-radius: 10px;
}
.today-info>div:not(:last-child) {
margin: 0 0 10px 0;
}
.today-info>div .title {
float: left;
font-weight: 700;
}
.today-info>div .value {
float: right;
}
.week-list {
list-style-type: none;
padding: 0;
margin: 10px 35px;
-webkit-box-shadow: 0 0 50px -5px rgba(0, 0, 0, 0.25);
box-shadow: 0 0 50px -5px rgba(0, 0, 0, 0.25);
border-radius: 10px;
background: #222831
}
.mainDIv{
margin: 0;
width: 100%;
height: 100vh;
font-family: 'Montserrat', sans-serif;
background-color: #343d4b;
display: -webkit-box;
display: -ms-flexbox;
display: flex;
-webkit-box-align: center;
-ms-flex-align: center;
align-items: center;
-webkit-box-pack: center;
-ms-flex-pack: center;
justify-content: center;
}
.week-list>li {
float: left;
padding: 15px;
cursor: pointer;
-webkit-transition: 200ms ease;
-o-transition: 200ms ease;
transition: 200ms ease;
border-radius: 10px;
}
.week-list>li:hover {
-webkit-transform: scale(1.1);
-ms-transform: scale(1.1);
transform: scale(1.1);
background: #fff;
color: #222831;
-webkit-box-shadow: 0 0 40px -5px rgba(0, 0, 0, 0.2);
box-shadow: 0 0 40px -5px rgba(0, 0, 0, 0.2)
}
.week-list>li.active {
background: #fff;
color: #222831;
border-radius: 10px;
}
.week-list>li .day-name {
display: block;
margin: 10px 0 0 0;
text-align: center;
}
.week-list>li .day-icon {
display: block;
height: 30px;
width: auto;
margin: 0 auto;
}
.week-list>li .day-temp {
display: block;
text-align: center;
margin: 10px 0 0 0;
font-weight: 700;
}
.location-container {
padding: 25px 35px;
}
.location-button {
outline: none;
width: 100%;
-webkit-box-sizing: border-box;
box-sizing: border-box;
border: none;
border-radius: 25px;
padding: 10px;
font-family: 'Montserrat', sans-serif;
background-image: linear-gradient( 135deg, #72EDF2 10%, #5151E5 100%);
color: #ffffff;
font-weight: 700;
-webkit-box-shadow: 0 0 30px -5px rgba(0, 0, 0, 0.25);
box-shadow: 0 0 30px -5px rgba(0, 0, 0, 0.25);
cursor: pointer;
-webkit-transition: -webkit-transform 200ms ease;
transition: -webkit-transform 200ms ease;
-o-transition: transform 200ms ease;
transition: transform 200ms ease;
transition: transform 200ms ease, -webkit-transform 200ms ease;
}
.location-button:hover {
-webkit-transform: scale(0.95);
-ms-transform: scale(0.95);
transform: scale(0.95);
}
.location-button .feather {
height: 1em;
width: auto;
margin-right: 5px;
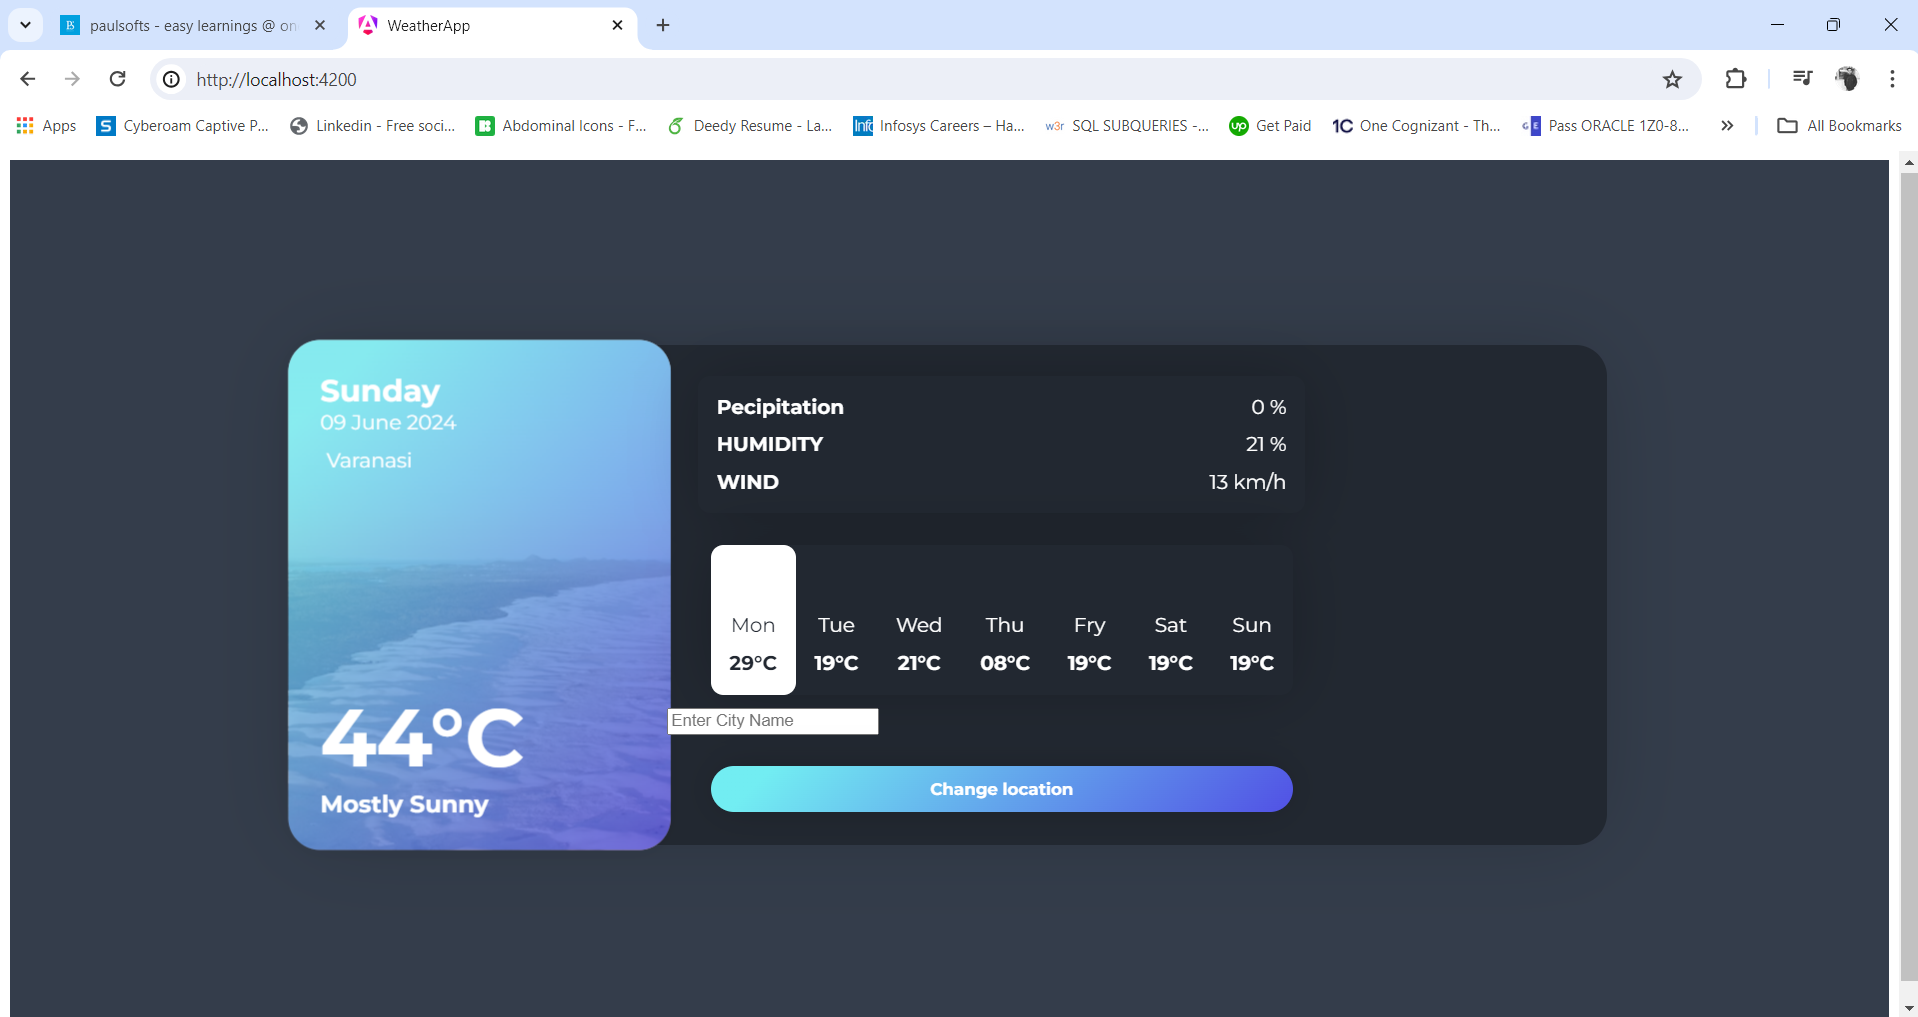
}After we have successfully added the HTML and CSS for our weather application, we will have the following output:
Step 4- Create service class in Angular
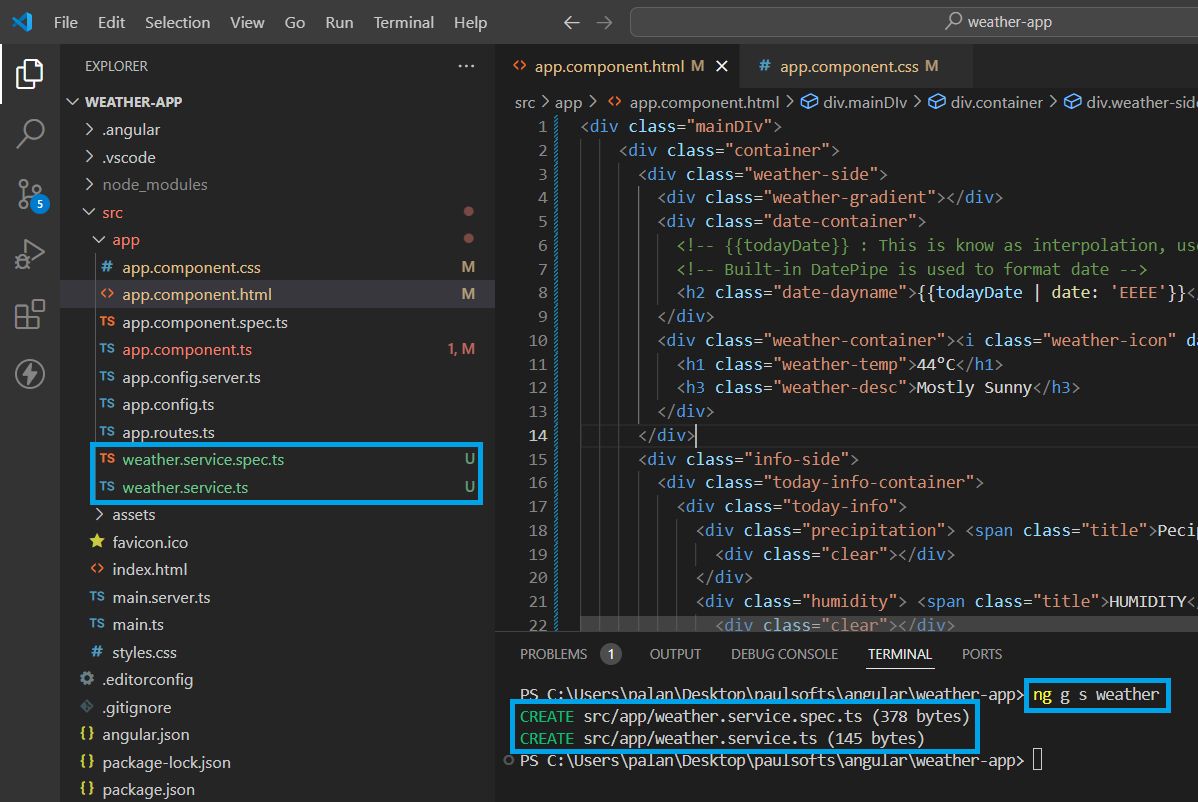
In this step, we will create a service to handle the API request and response. We use the following command in Angular to create a service class:
/**
   * g: generate
   * s: service
   * ng generate service <service-name>
   */
ng g s <service-name>
Below, we have used the ng g s weather command, and this has generated two files, weather-service.ts and weather-service.spec.ts. We will be using the weather-service.ts file for handling the response from fetched data via API.
As we use HttpClient, we need to make sure to add provideHttpClient(withFetch()) in the app.config.ts file to avoid a NullInjectorError.
import { ApplicationConfig } from '@angular/core';
import { provideRouter } from '@angular/router';

import { routes } from './app.routes';
import { provideClientHydration } from '@angular/platform-browser';
import { provideHttpClient } from '@angular/common/http';

export const appConfig: ApplicationConfig = {

  /**
   * Added provideHttpClient(withFetch()) in providers list
   */
  providers: [provideRouter(routes), provideClientHydration(), provideHttpClient(withFetch())]
};
Now, we will add the service layer for our weather application; for this, go to weather.service.ts and add the following code:
import { HttpClient } from '@angular/common/http';
import { Injectable } from '@angular/core';
import { Observable } from 'rxjs';

@Injectable({
  providedIn: 'root'
})
export class WeatherService {

  /**
   * Injecting HttpClient in service with the help of constructor
   *
   * @param _httpClient
   * @author paulsofts
   */

  constructor(private _httpClient: HttpClient) {

   }

   /**
    *
    * @param city
    * @returns data returned from the API
    * @author paulsofts
    */
   getWeatherDataByCity(city: string): Observable<any>{
    var _httpHeader = {
      'x-rapidapi-host': 'weatherapi-com.p.rapidapi.com',
      'x-rapidapi-key': '3441e3d09dmsh65aa5232e72a575p1bfd80jsnbb2bcb5d4acd'
    }
    var q = city;
    var url = 'https://weatherapi-com.p.rapidapi.com/current.json';
    return this._httpClient.get(url, {params:{q}, headers: _httpHeader});
   }
}
In the above code, we have used the API from Rapid APIs. Feel free to use your own favourite APIs.
Step 5- Update Component in Angular
In our app.component.ts, first we are injecting the weather service into the constructor and using it to get the data from the weather service. After that, we subscribe to that data and map it to the required fields that were used for interpolation in the app.component.html file.
import { CommonModule } from '@angular/common';
import { Component } from '@angular/core';
import { RouterOutlet } from '@angular/router';
import { WeatherService } from './weather.service';
declare var $: any;
@Component({
  selector: 'app-root',
  standalone: true,
  imports: [RouterOutlet, CommonModule],
  templateUrl: './app.component.html',
  styleUrl: './app.component.css'
})
export class AppComponent {
  title = 'weather-app';

  /**
   * Below fields are used in app.component.html for interpolation
   * @author paulsofts
   */

  todayDate: Date;
  temp: any;
  location: any;
  precipitation: any;
  humidity: any;
  wind: any;
  condition: any;

  constructor(private weatherService: WeatherService){
    this.todayDate = new Date();
  }

  changeLocation(){
    this.getWeatherDataByCity();
  }

  getWeatherDataByCity(){
    /**
     * 1. jQuery is being used to select the HTML element with id as 'cityName'.
     * 2. Using weatherService we are fetching data and then subscribe it to listen the data.
     * @author paulsofts
     */
    var city = $('#cityName').val();
    this.weatherService.getWeatherDataByCity(city).subscribe(data => {
      console.log(data);
      this.temp = data.current.temp_c;
      this.location = data.location.name;
      this.humidity = data.current.humidity;
      this.wind = data.current.wind_kph;
      this.precipitation = data.current.precip_in;
      this.condition = data.current.condition.text;
    }, error => console.log(error));
  }
}
Step 5- Run angular app
Now, we will run our weather application, and we will have the following output:
Hey people!!!!!
Good mood and good luck to everyone!!!!!