

MongoDB is an open source NoSQL database, which means that unlike SQL, we do not store data in the form of tables and columns, i.e., it will not follow the RDBMS rules. It is a scalable, high-performance, document-oriented database.
Difference between SQL and NoSQL database
| SQL Database | NoSQL Database |
| In an SQL database, we need to define the database schema, such as tables, and add mapping to them in order to store data on them. | In a NoSQL database, we are not required to define the database schema. |
| SQL databases are the RDBMS (Relational Database Management System) databases. | NoSQL is a non-relational or distributed database. |
| SQL databases store the data in the form of tables and columns. | NoSQL databases store the data in the form of collections (such as JSON). { “name”:”Paulsofts”, “link”:”paulsofts.com”, } |
| SQL databases are vertically scalable. | NoSQL databases are horizontally scalable. |
| Example: MySQL, Oracle, PostgreSQL etc. | Example: MongoDB, Cassandra, HBase etc. |
Steps to install and configure MongoDB
Step 1- Download MongoDB
First, we need to download the MongoDB application. For this, go to the MongoDB Community Official Page and click on Download. It will download the latest version of MongoDB. We are choosing platform as Windows and package as msi so that it will download the setup through which we can directly install MongoDB.

Step 2- Installing MongoDB
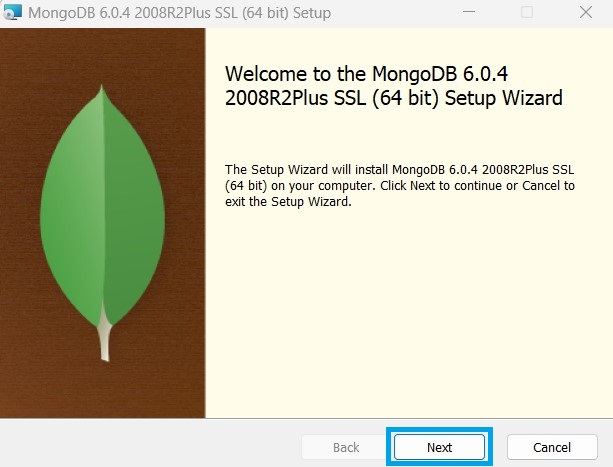
In this step, we will install MongoDB. For this, we need to run the setup and accept the terms and license. After we run the setup, it will open a Setup Wizard, and we need to click on Next.
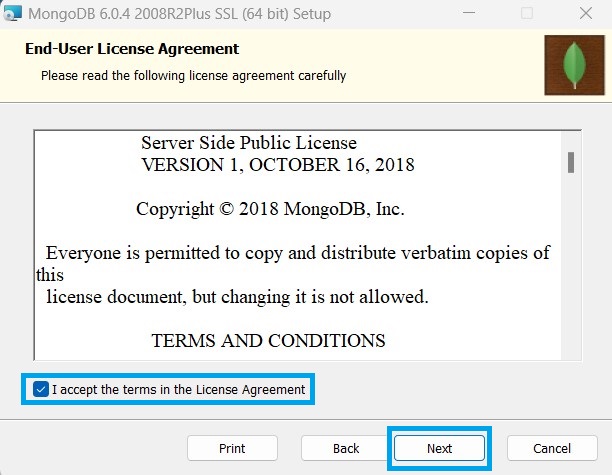
Once we click on Next, it will ask us to accept the license agreement. Check the checkbox option and click on Next.
After we click on Next, it will ask for setup type choose Complete and click on Next.

Once we click on Next, it will again open a popup window for service configuration we will keep the default configuration in that window and click on Next.

After we click on Next, it will ask for installing MongoDB Compass (UI based shell environment) we will check the checkbox option and click on Next.

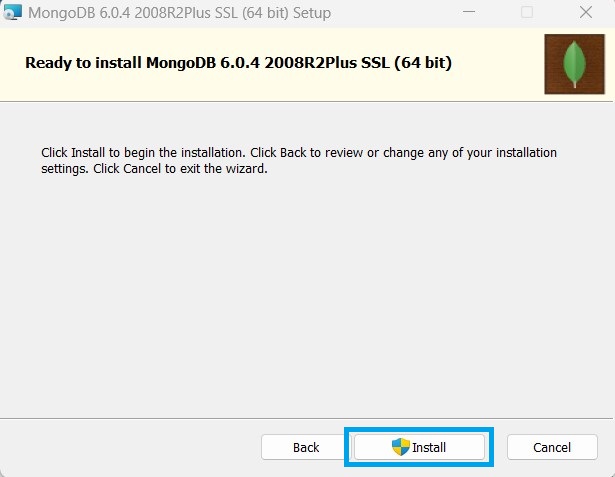
After this, we need to click on Install, it will start installing all the MongoDB components.
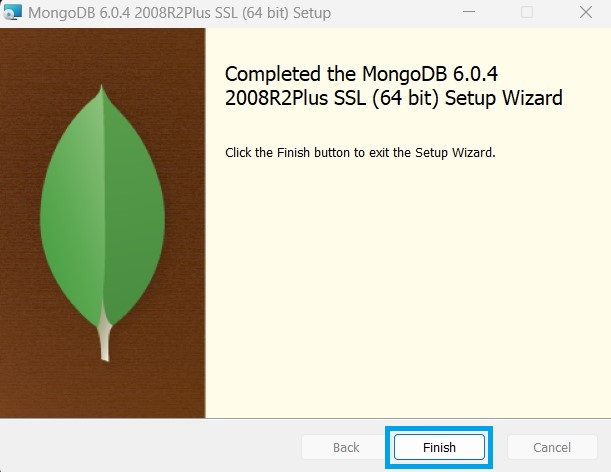
Once the MongoDB is installed finished click on Finish.
Step 3- Configure MongoDB
In this step, we will configure MonogDB in our system. Once we have installed MongoDB, we can go to the default location, C:\Program Files\MongoDB\Server\6.0\bin where we can find the MongoDB server files.
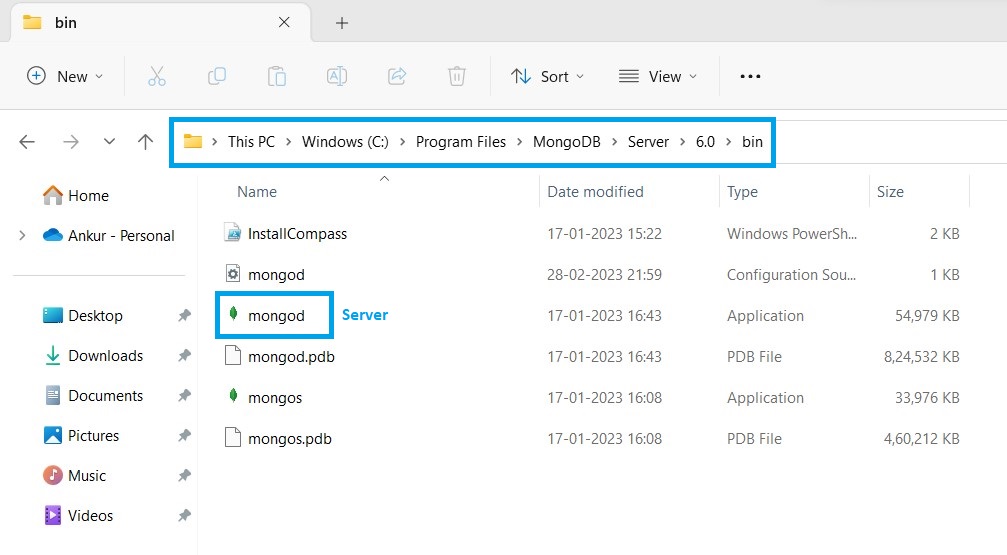
Note: We can open the command prompt (cmd) at the above location (C:\Program Files\MongoDB\Server\6.0\bin) and run the command mongod to start the MongoDB server.
Before moving further, we need to create a data directory. This data directory is used by MongoDB to store its data. For this, go to C-Drive > Create Data Directory > Create DB Directory.
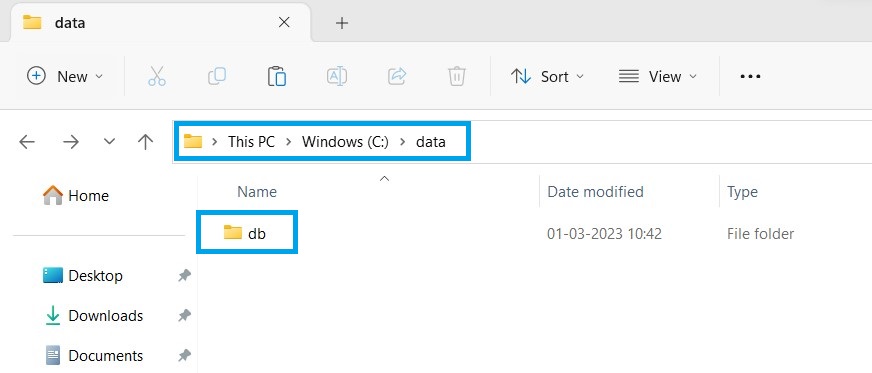
If we do not create the above data directory, we will get a Missing Data Director Error, and our MongoDB server will not be able to start.

Now we can run the mongod command at its default location (C:\Program Files\MongoDB\Server\6.0\bin).

Once we execute the mongod command it will start the MongoDB server at default port number 27017.

Step 4- Set Environment Variable
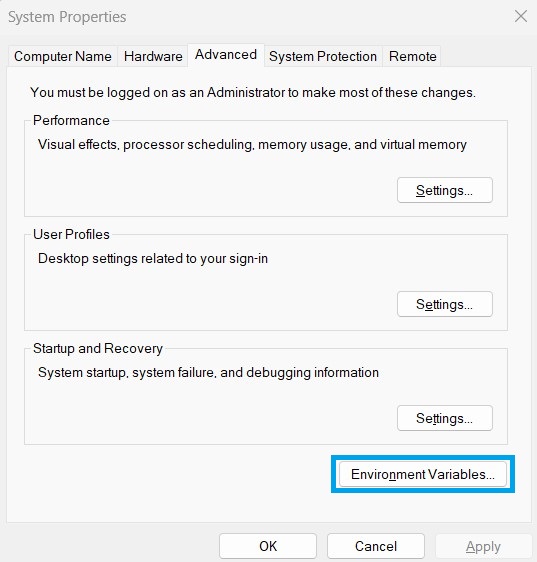
In this step, we will setup the environment variable for MongoDB so that we are not required to go to the default MongoDB location to access and run it. For this, we are required to set the default path (C:\Program Files\MongoDB\Server\6.0\bin) to our environment variable. For this, search for Environment Variable and open it. It will open a System Property window where we need to click on Environment Variable.
Once we click on Environment Variables, this will open a separate window for Environment Variable configurations.
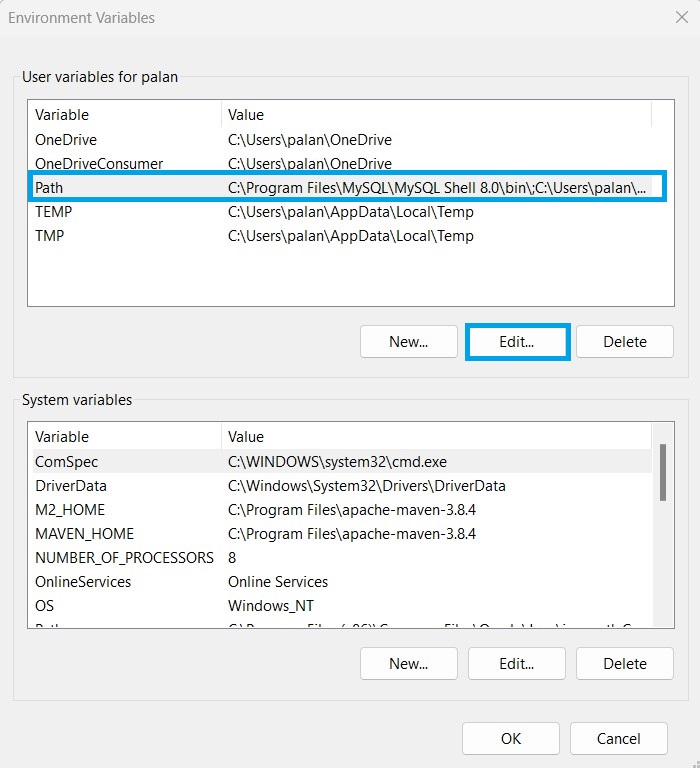
After we click on Edit, it will open a new window to edit the path variable, where we are required to add the complete default path of our MonogoDB.
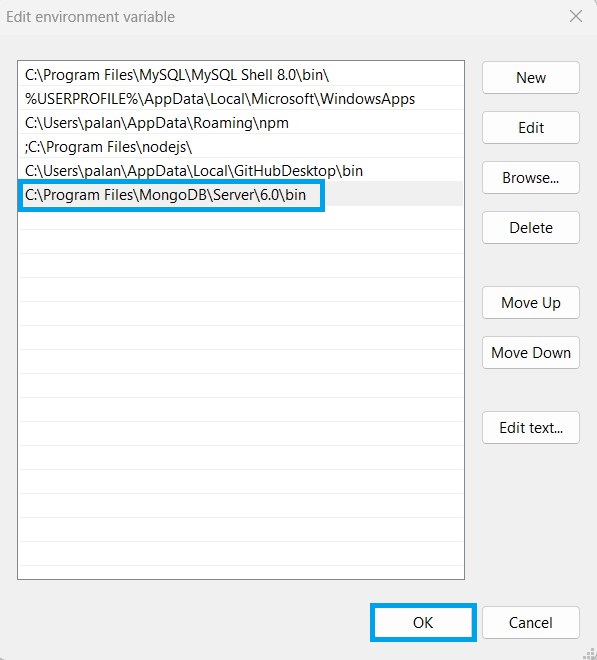
Once we have added the path, we need to click OK and close the window to set the environment variable for MongoDB. After this, we can access the server from any location in our system.