Jenkins is an open-source automation server written in the Java programming language that is used for continuous integration of software projects. It also allows continuous deployment (CI/CD) for software projects by integrating with various testing and deployment tools and technologies. To learn more about Jenkins, please refer to Jenkins: An Introduction to CI/CD and Jenkins.
Steps to install Jenkins on Windows
Step 1- Download Jenkins
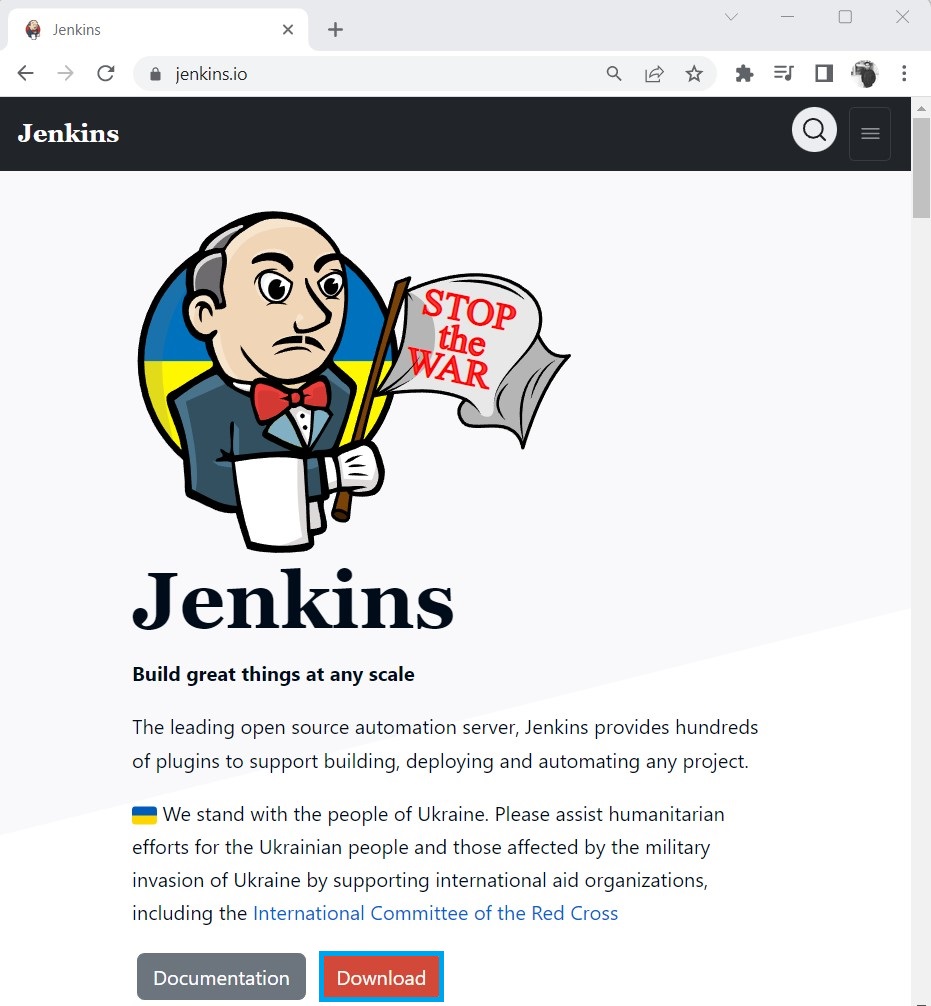
First, we need to download the Jenkins. For this, go to Jenkins Official Page and click on Download.
The Jenkins project produces two different release version:
- Long-Term Support Release
- The long-term support releases are bug-free and stable. It comes every 12 weeks and is intended for end users.
- Weekly Release
- These are regular releases that come every week with bug fixes from earlier releases and are intended for plugin developers.
We will be downloading the long-term support release version of Jenkins for the Windows platform. For this, click on Download Jenkins LTS for Windows.

Step 2- Installing Jenkins
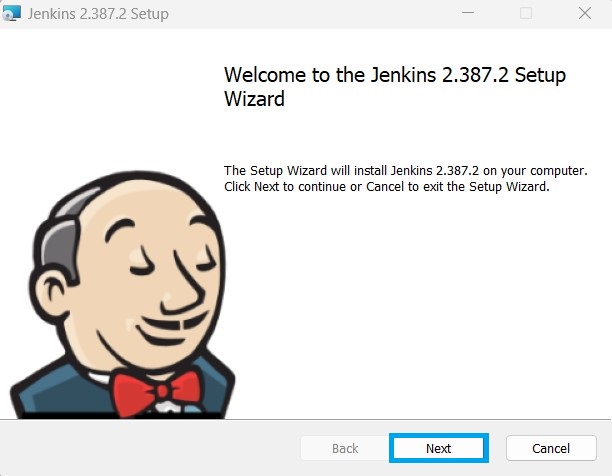
Once we have downloaded the Jenkins setup, We need to run the setup and accept the terms and license. After we run the setup, it will open a Setup Wizard, and we need to click on Next.
After we click on Next, it asks for the location where we want our Jenkins server to be installed. (Here, we are using the default location.)

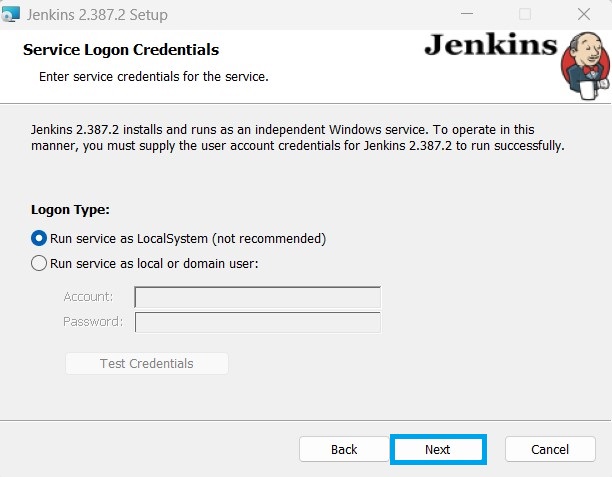
Again, we click Next, and a popup will appear asking for the logon credentials. Either we can choose Run service as LocalSystem or Run service as local or domain user, where we need to give our system’s username and password. (Here, we are choosing to run the service as LocalSystem)
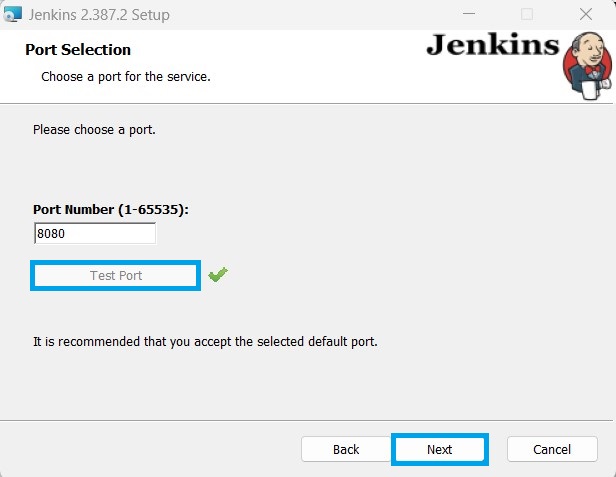
Now, it will ask for the port number on which we want our Jenkins server to run. We can enter our desired port number and click on Test Port. (Here, we are choosing the default port i.e., 8080)
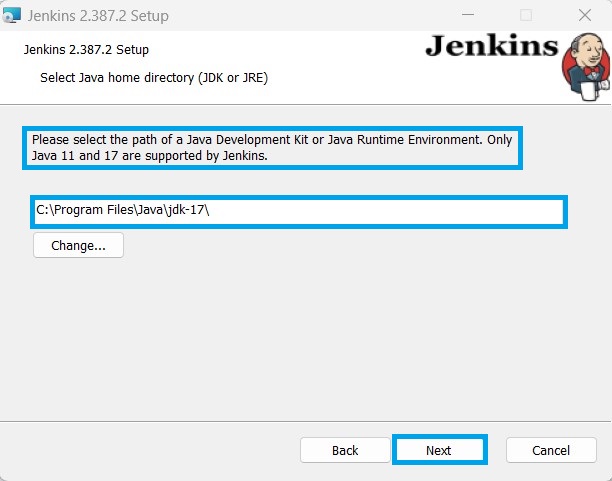
We have configured the port number. Next, it will ask the path for JDK or JRE. Make sure that you have Java 11 or higher.
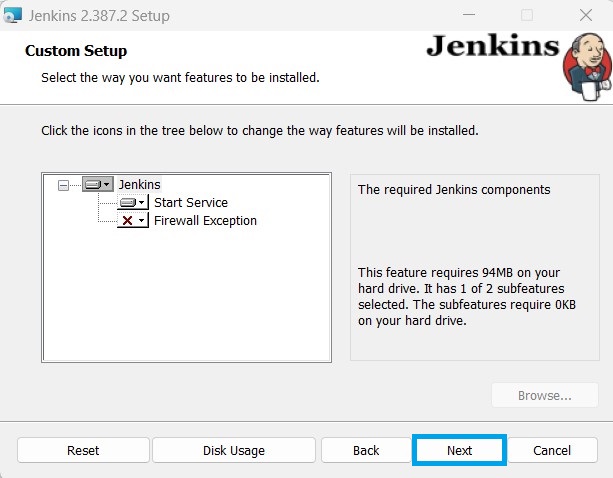
After this, click on Next, and a Custom Setup popup will come up with the default configuration. Click on Next.
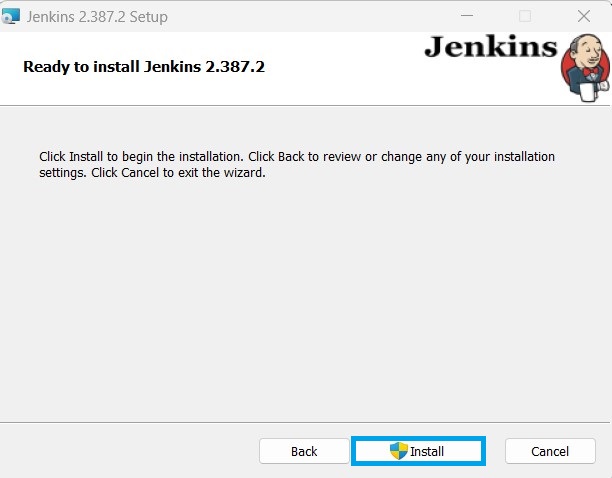
Finally, we have accepted the terms and conditions for Jenkins installation. By clicking Next, we will get a popup to install Jenkins.
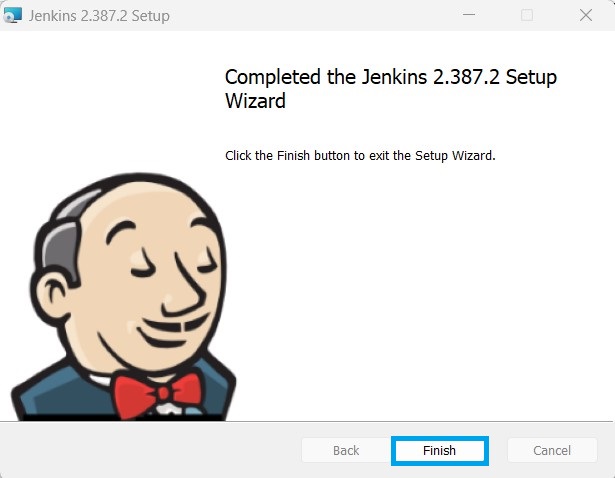
Once Jenkins installation is complete, click Finish to exit the setup wizard.
Step 3- Configure Jenkins
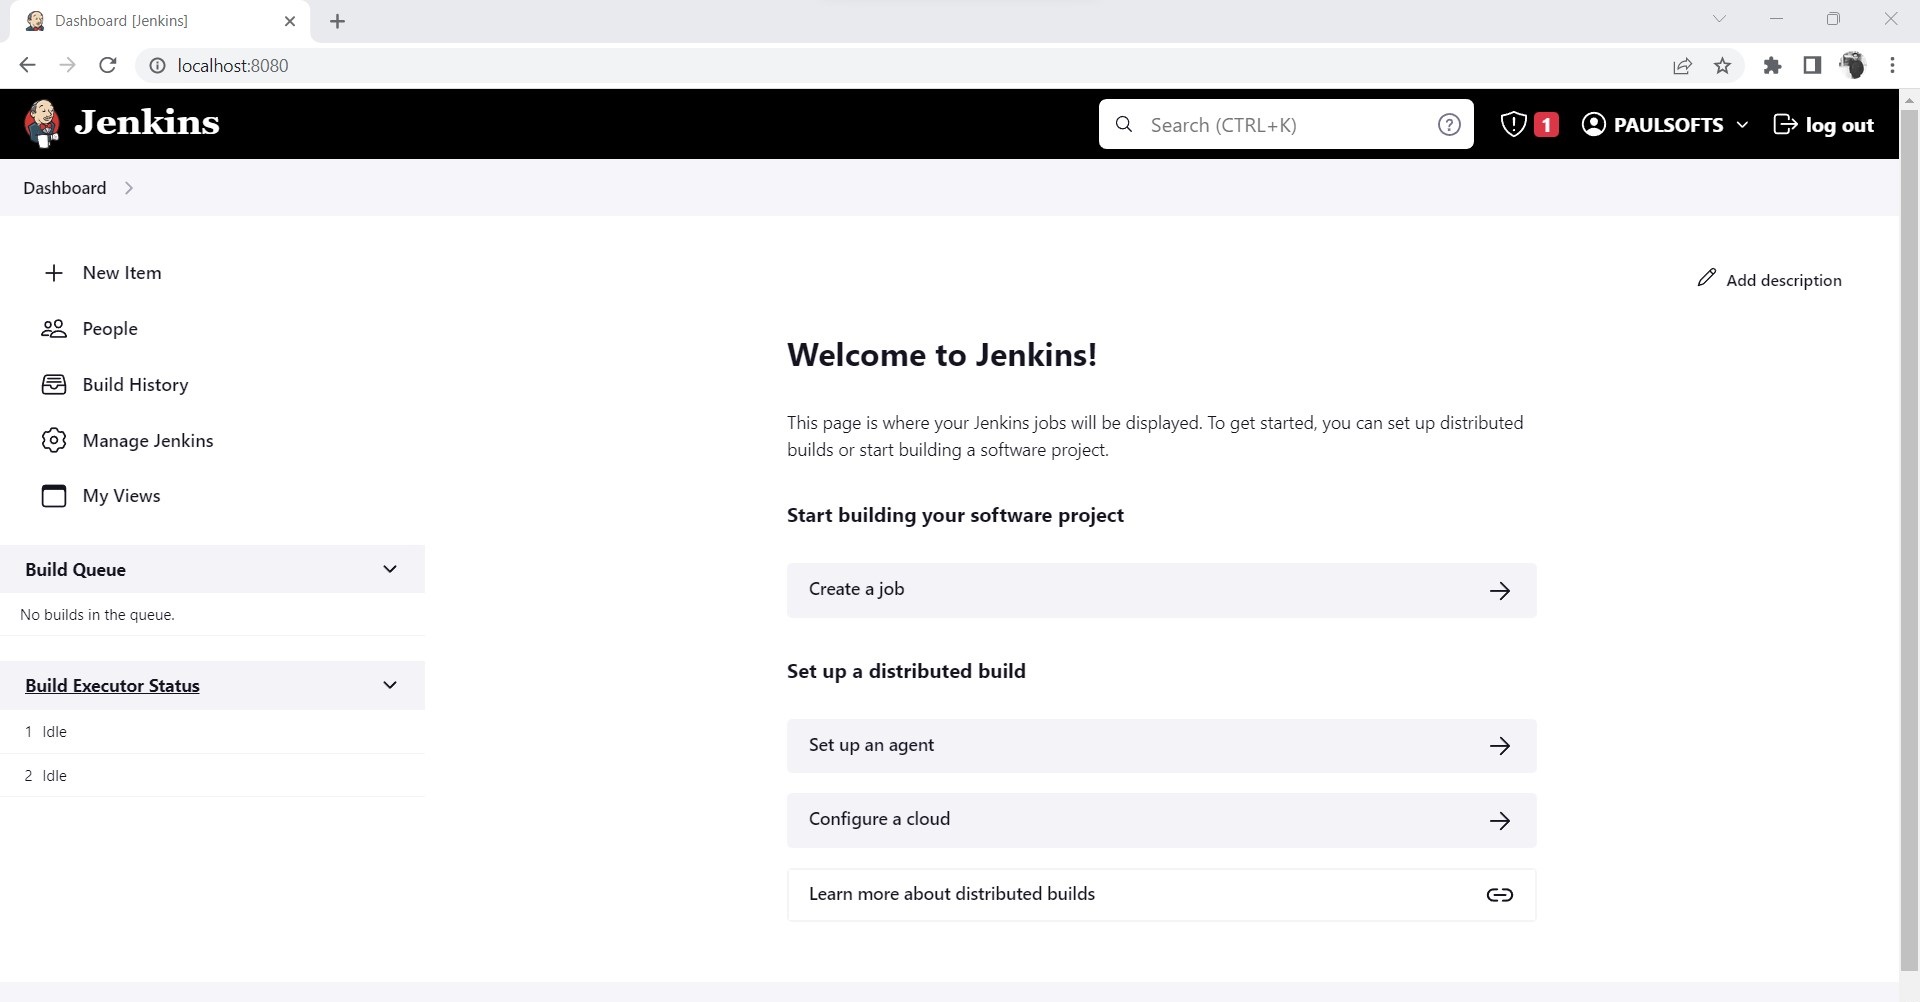
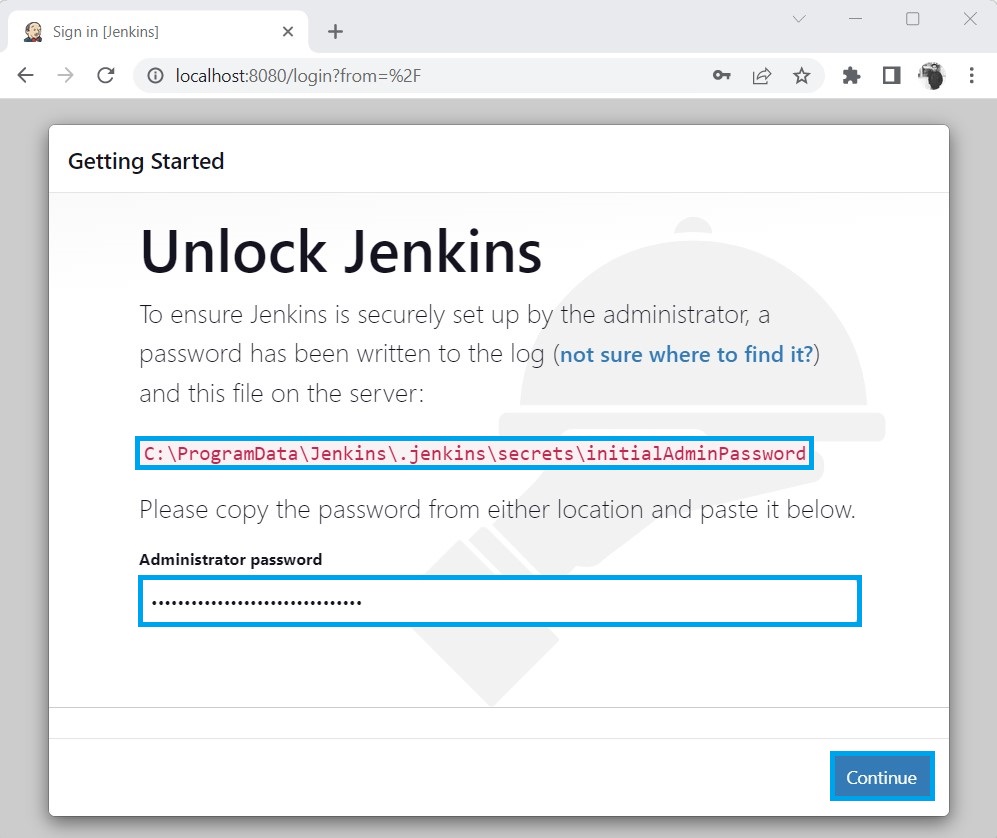
In this step, we need to configure Jenkins and create the first admin user to use Jenkins. After the Jenkins installation completes, as we have configured the port number 8080, we will access the Jenkins server at http://localhost:8080. It will ask to unlock Jenkins using the initial admin password, which will be present on the path it shows.
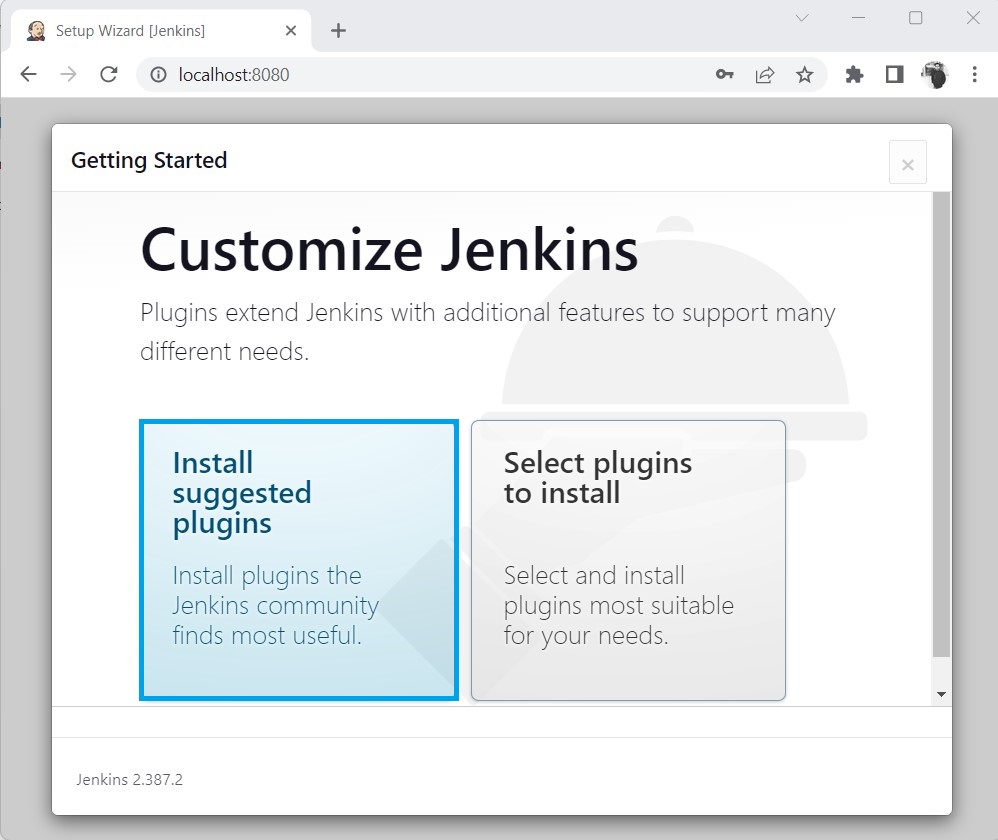
After we click Continue, we have the option to choose standard or custom plugins. (Here, we are choosing the standard plugins)
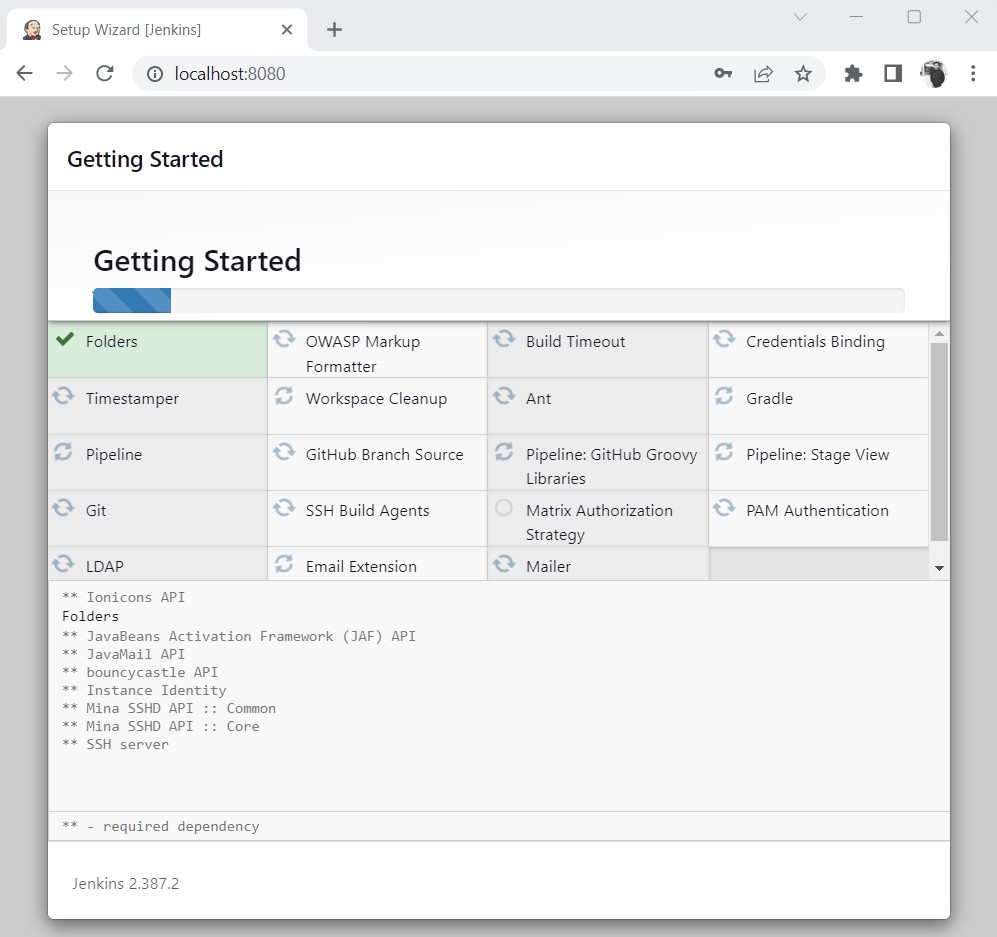
As soon as we click on “Install suggested plugins”, Jenkins will start installing the standard required plugins.
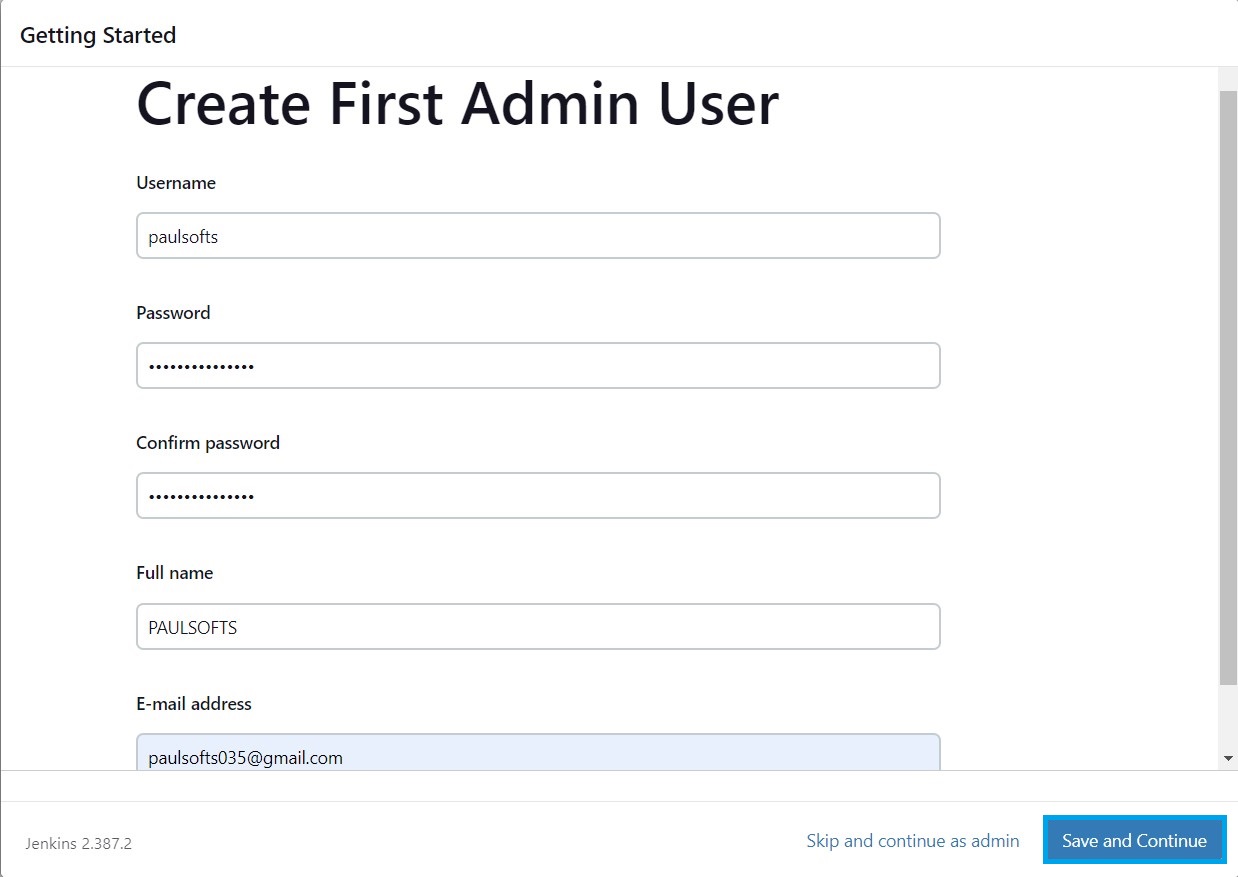
Jenkins asks to create the first admin user as it completes the plugin installation, where we will give the following user details and click on Save and Continue.
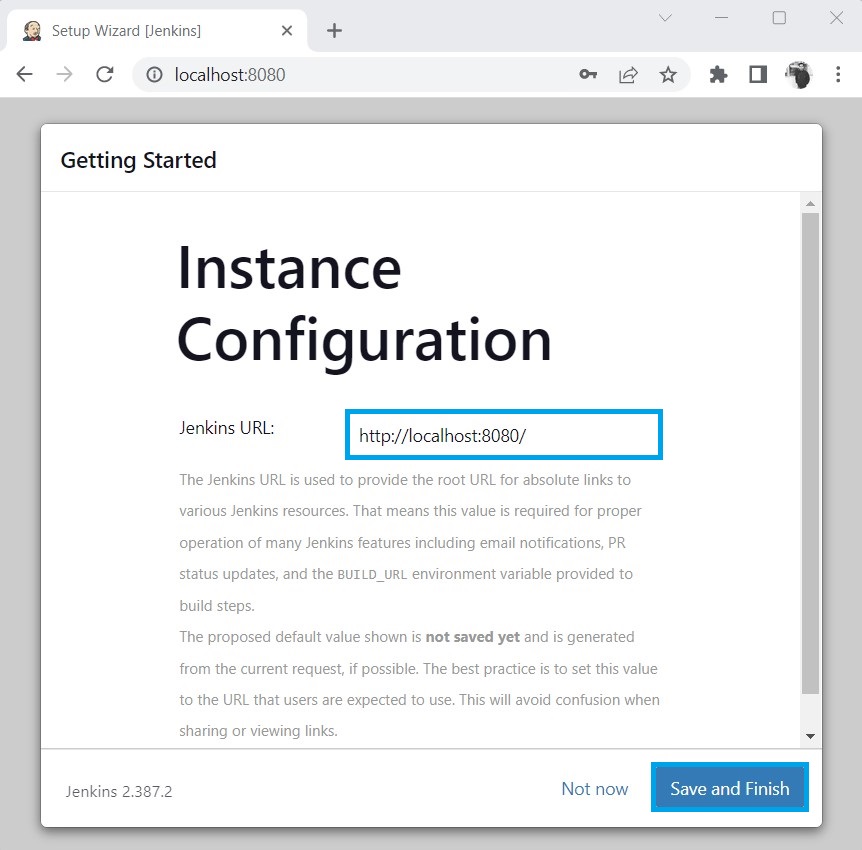
After we click Save and Continue as the admin user, it will ask for the Jenkins instance configuration. We keep it default and click Save and Finish.
Next, our Jenkins configuration setup is complete. Now, we just need to click on Start using Jenkins.
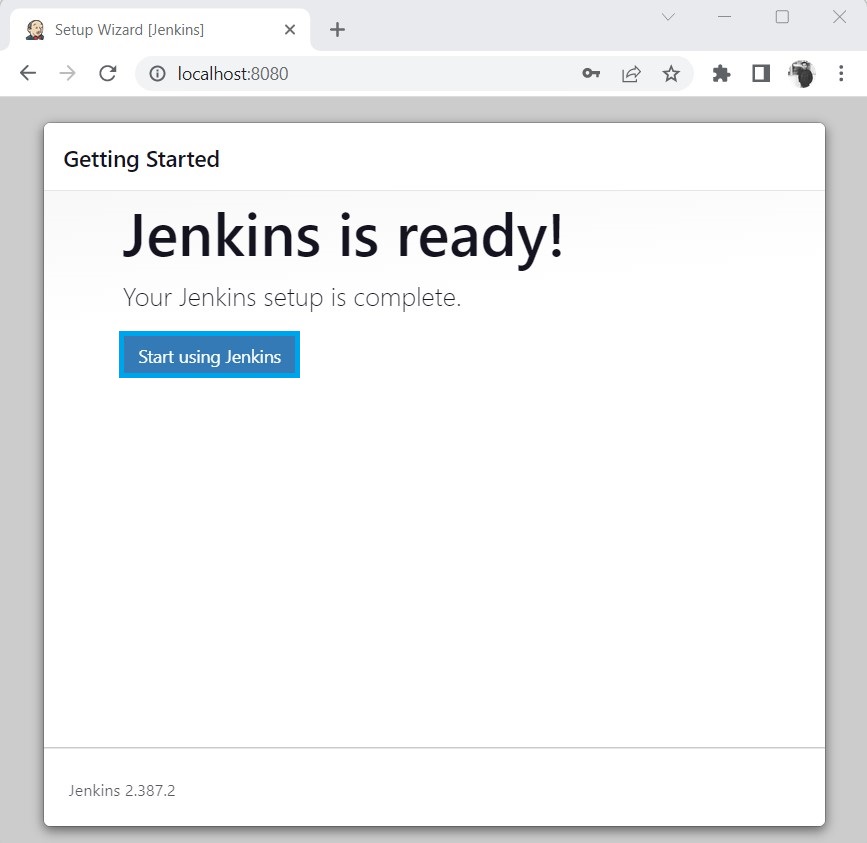
As soon as we click on Start using Jenkins, our Jenkins server starts, and we can use it for CI/CD.