Install and Run Apache Kafka on Windows
Apache Kafka is an open-source distributed event streaming platform that acts as a high-throughput, fault-tolerant, and scalable message broker. It enables the efficient ingestion, storage, and distribution of data streams within a system. Producers publish data on specific topics, which are further partitioned for parallel processing. Consumers subscribe to these topics, facilitating real-time data processing and analytics. Kafka provides durability by storing records for a configurable period, and its design ensures low latency and high performance, making it ideal for real-time applications and data integration. To learn in detail, please refer to Introduction to Apache Kafka. In this tutorial, we will learn to install Apache Kafka on Windows.
Steps to install Kafka on Windows
- Download Apache Kafka
- Extract Apache Kafka packages and file
- Start Zookeeper
- Start Kafka Server
Step 1- Kafka Download for Windows
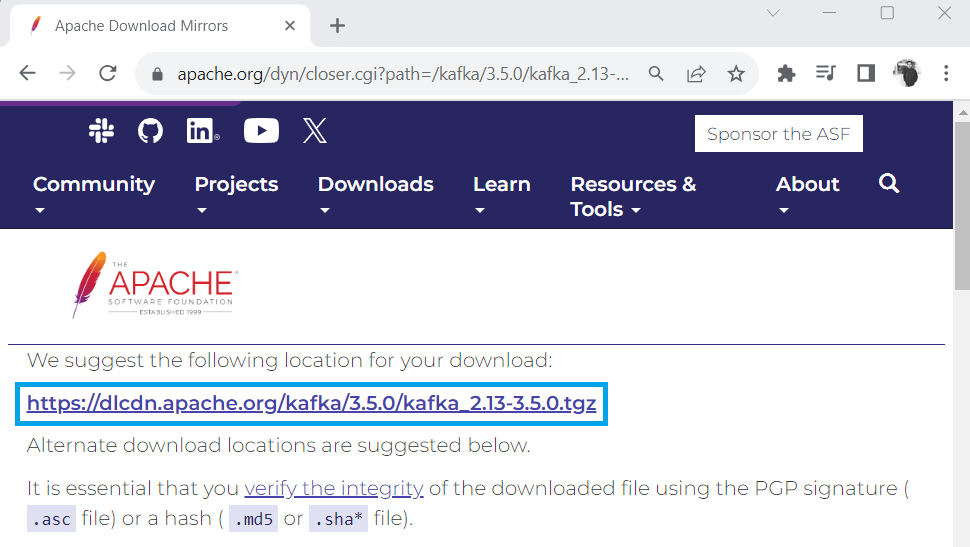
In this step, we will download Kafka for Windows. For this, we will go to Quickstart Apache Kafka Official Page.

Once we click on the download link, it will move us to the download page, where it recommends downloading the stable version of Kafka.
Step 2- Extract Kafka
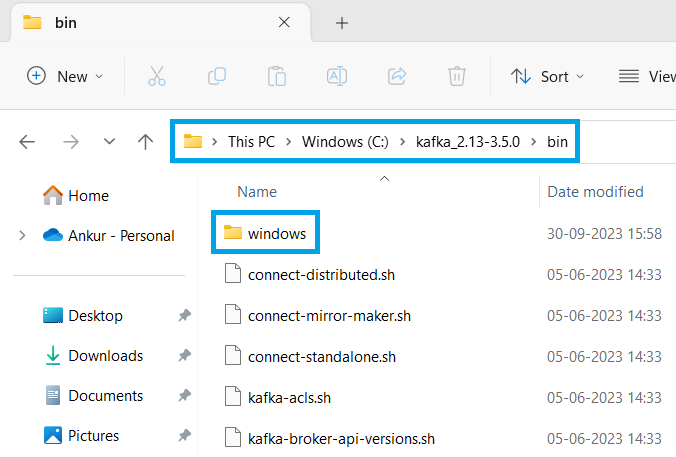
After we have downloaded Apache Kafka, we will extract the Kafka package and place it inside the C-drive.

Inside the bin directory, we can have .sh files for Linux OS, and we have separate directory for Windows OS which have .bat files.
Step 3- Start Zookeeper
We will need to start Zookeeper inside the Kafka directory. At the location shown below in the picture.
In order to start Zookeeper, we need the following two files:
- zookeeper-server-start.bat
- File location: bin\windows\zookeeper-server-start.bat
- zookeeper.properties
- File location: config\zookeeper.properties
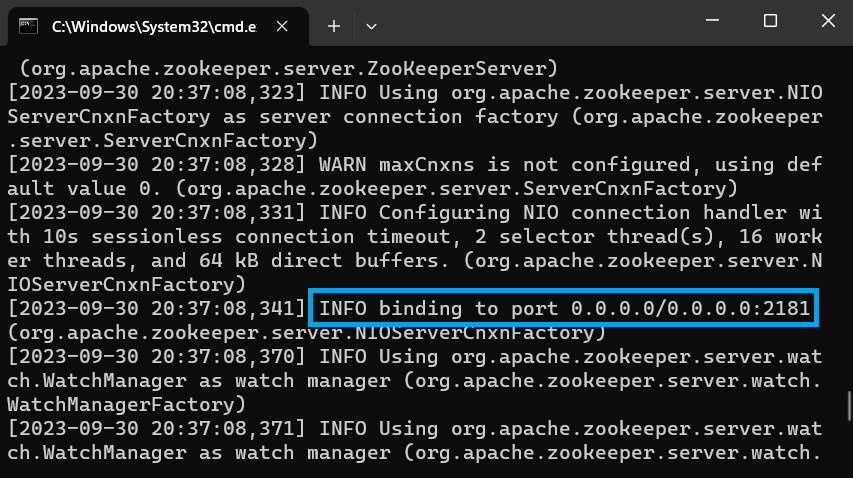
To start the zookeeper, we open the command prompt (CMD) inside the Kafka directory and use the following command:
bin\windows\zookeeper-server-start.bat config\zookeeper.propertiesMake sure to add space between bin\windows\zookeeper-server-start.bat and config\zookeeper.properties.
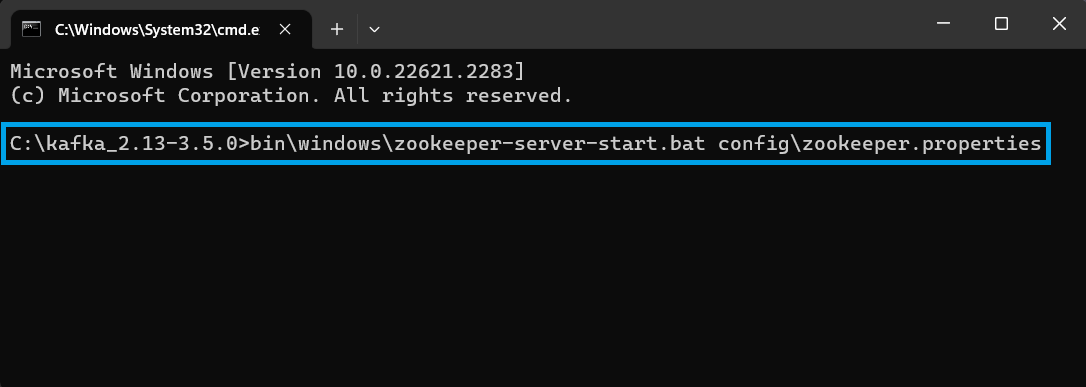
After we click Enter, our Zookeeper gets started, and it will bind to port number 2181, which means the Zookeeper is configured to listen to the incoming network connection on this port.
Step 4- Start Kafka Server
After we have started our Zookeeper, we need to start our Kafka server. To start the Kafka server, we need these two files:
- kafka-server-start.bat
- File location: bin\windows\kafka-server-start.bat
- server.properties
- File location: config\server.properties
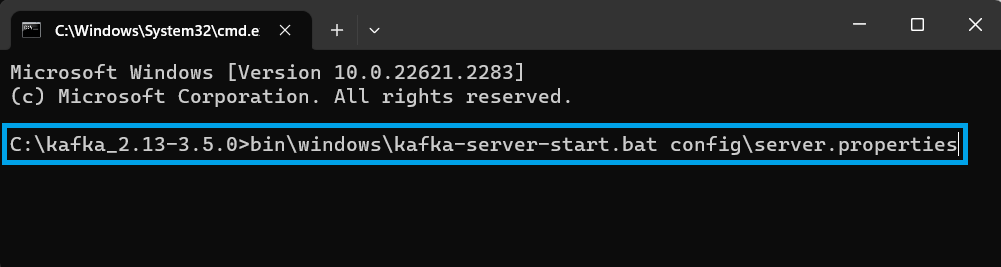
Again, we open a new command prompt window at the same location inside the Kafka installation directory and use the following commands:
bin\windows\kafka-server-start.bat config\server.propertiesPlease refer to the below picture for reference.
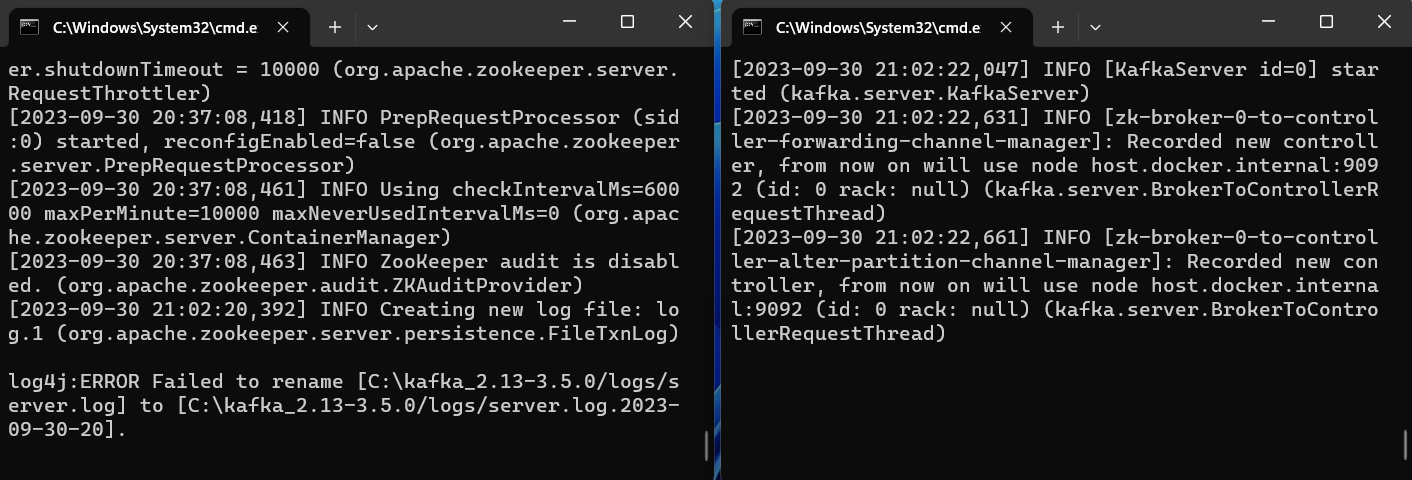
As soon as we click Enter, our Kafka server gets started. As we can see in the below picture, it started at the default port of 9092 and we have successfully run Kafka on Windows.

Now, we have two command-prompt windows running side-by-side, one for Zookeeper and one for Kafka Server.