Spring Boot is a microservice java-based framework which is built on top of the Spring framework. Spring Boot makes it easy to a create stand-alone, production-grade spring-based application that you can just run.
Spring Boot benefits over Spring framework
- Opinionated
- Spring Boot is considered as an opinionated framework as it comes with starter packages with predefined configurations which provide developers with a good starting point to develop the application and later, on requirement, we can also change the configuration.
- Convention over configuration
- Spring Boot supports convention over configuration, which means it considers most of the use-cases of an application and adds the configuration and dependencies rather than nit-picking exact configuration and dependencies specific to an application.
- Standalone
- Typically, we develop an application and then we build it’s war file(web application file) and deploy it to some container(servers). But, Spring Boot comes with a default embedded Tomcat server with spring-boot-starter-web dependency, which reduces the task of web server installation and war deployment. In the Spring Boot, we can generate an application jar which contains embedded tomcat and we can just run the application as a java application.
- Production ready
- Spring Boot provides various production ready features which can be used to monitor and manage spring boot applications. For example, Actuator, which can be used to manage and monitor applications using HTTP Endpoints or JMX.
Steps By Step Implementation
Step 1- Spring initializer
In this step, we will create a spring boot project using Spring Initializr. We will be using the following configuration for our blog application.

Once we have added the required dependencies and configuration, we need to click on Generate. It will generate a zip file for our blog application which we will need to import into our IDE.
Step 2 – Import project in Eclipse
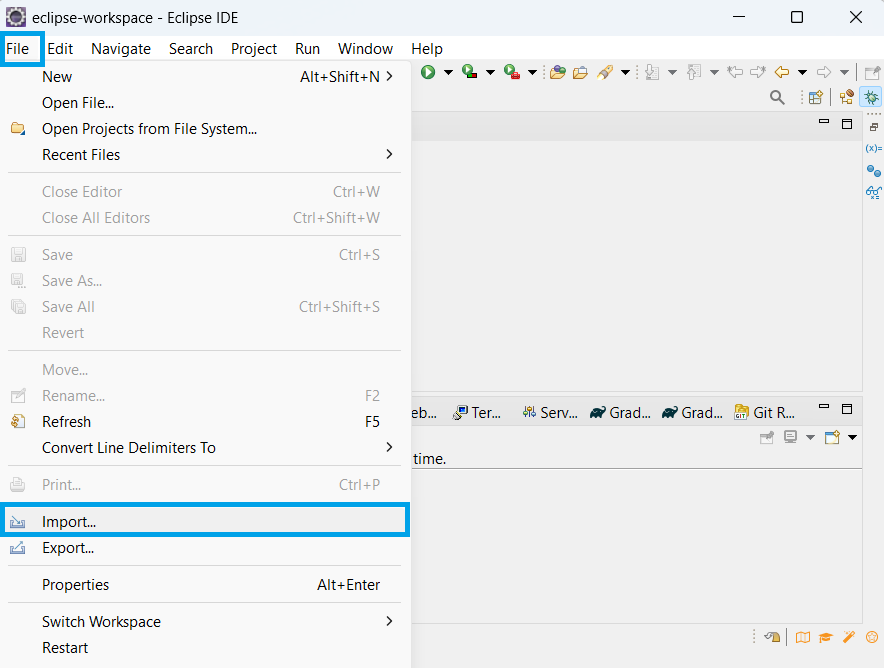
We need to import our blog application zip file to our IDE(Here, we will be using Eclipse). For this, click on File > Import.
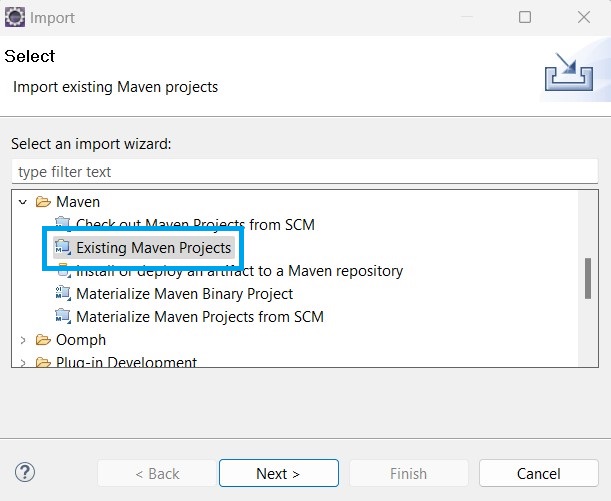
It will open a popup where we need to select Existing Maven Project and click on Next.
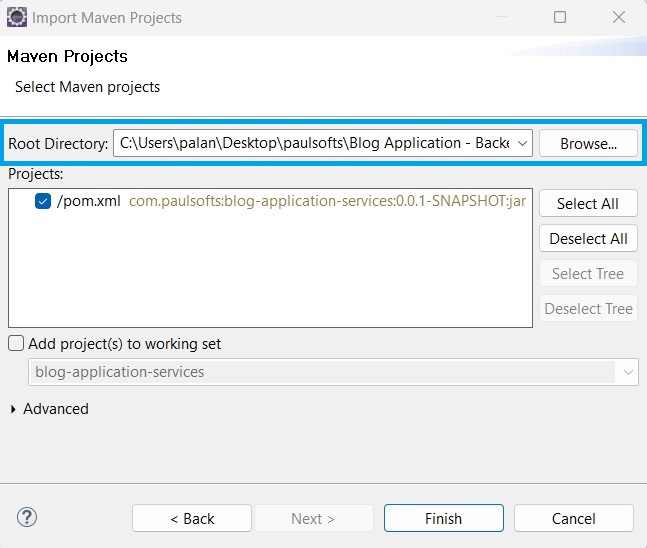
After that, we need to browse to the blog-application-service project and click on Finish.
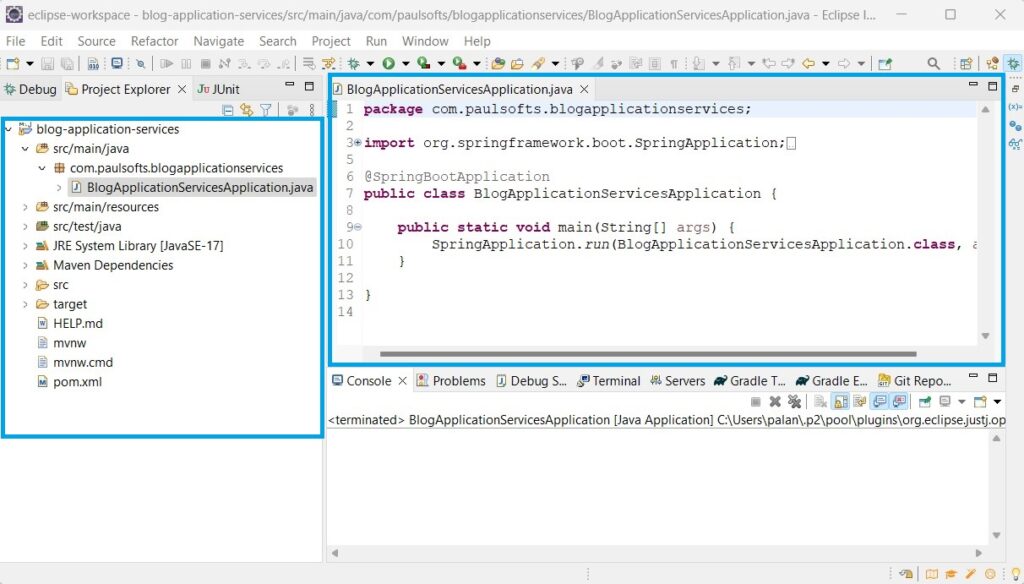
Output:
Once we click on Finish, Eclipse will start importing the application files and once, maven dependencies are updated, our spring boot blog application project will be created.