What is Session Management?
Session management in Spring Boot refers to the process of managing user sessions in a web application. Sessions are used to maintain stateful information about the user’s interaction with the application across multiple requests.
What is the purpose of Session Management?
Following are the benefits of session management:
- State Management: Sessions help to maintain stateful interaction with users with the application to keep track of the user’s identity, preferences, shopping carts, and other contextual information.
- Security: Session management plays an important role in authentication and authorization. It helps to ensure that only authenticated users have access to the protected resources and that the session data remains secure from unauthorized access.
- Personalization: It also helps to personalize the user’s experience by storing the user’s preferences, browser history, and recently viewed items.
How to do Session Management?
Session Management can be achieved using following ways:
- Cookies: HTTP cookies are small pieces of data that are sent from a website and stored in the user’s browser. These are used to store session identifiers, allowing servers to associate subsequent requests with the correct session.
- URL Rewriting: In this approach, session identifiers are appended to URLs as query parameters or path parameters. This allows the servers to associate the requests with appropriate sessions without relying on cookies, which means it could be preferred where cookies are disabled. However, it may expose the session identifiers to potential security risks, such as session hijacking.
- Hidden Form Field: Session identifiers can be included as a hidden field in the HTML forms, and as soon as the form is submitted, the session identifiers are sent back to the server, allowing the server to maintain the session state.
Redis Session Management in Spring Boot Example
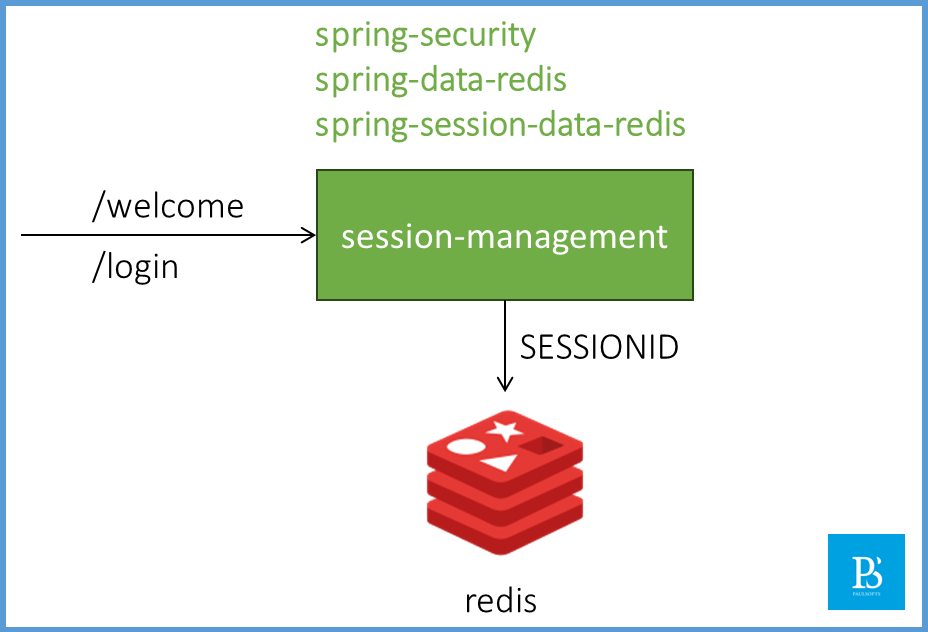
In this example, we are going to use Redis Spring Session to implement session management in the Spring Boot application. In order to do so, we are going to create a simple welcome API and maintain its session. As we have used Spring Security, as soon as we hit our API, it will redirect our request to the login API, where we need to use the default password to login to the application.
Steps to implement Redis Spring session
Step 1- Create a Spring Boot project
In this step, we are going to create a Spring Boot project. To learn, please refer How to Create a Spring Boot Project?. Below, we have added the required dependencies for reference purposes.
<dependencies>
		<dependency>
			<groupId>org.springframework.boot</groupId>
			<artifactId>spring-boot-starter-data-redis</artifactId>
		</dependency>
		<dependency>
			<groupId>org.springframework.boot</groupId>
			<artifactId>spring-boot-starter-security</artifactId>
		</dependency>
		<dependency>
			<groupId>org.springframework.boot</groupId>
			<artifactId>spring-boot-starter-web</artifactId>
		</dependency>
		<dependency>
			<groupId>org.springframework.session</groupId>
			<artifactId>spring-session-data-redis</artifactId>
		</dependency>
	</dependencies>
Step 2- Create an endpoint
We will be creating a simple welcome API that will return a welcome message as someone invokes the endpoint.
import org.springframework.web.bind.annotation.GetMapping;
import org.springframework.web.bind.annotation.RequestMapping;
import org.springframework.web.bind.annotation.RestController;

/**
 * 1. welcome API returns a welcome message
 *
 * @author paulsofts
 */
@RestController
@RequestMapping("/api")
public class Controller {

	@GetMapping("/welcome")
	public String welcome() {
		return "Welcome to paulsofts!";
	}

}
Step 3- Run Redis Server
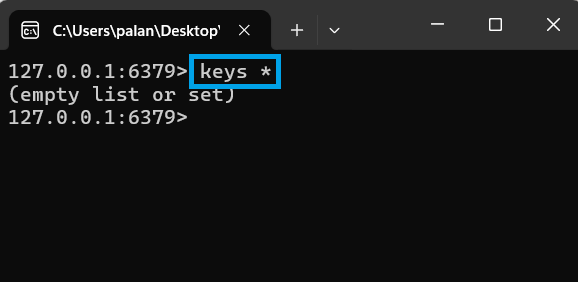
Before moving further, we need to run our Redis server. By default, Redis runs over port 6379. We will use the Redis-CLI to check any session keys. To learn more about Redis Sever, please refer to the Spring Boot Redis CRUD example.
As we can see, our Redis is running on port 6379, and we have used the keys * command to extract all the session keys. Currently, the key list is empty as we do not have any keys.
Step 4- Run Application
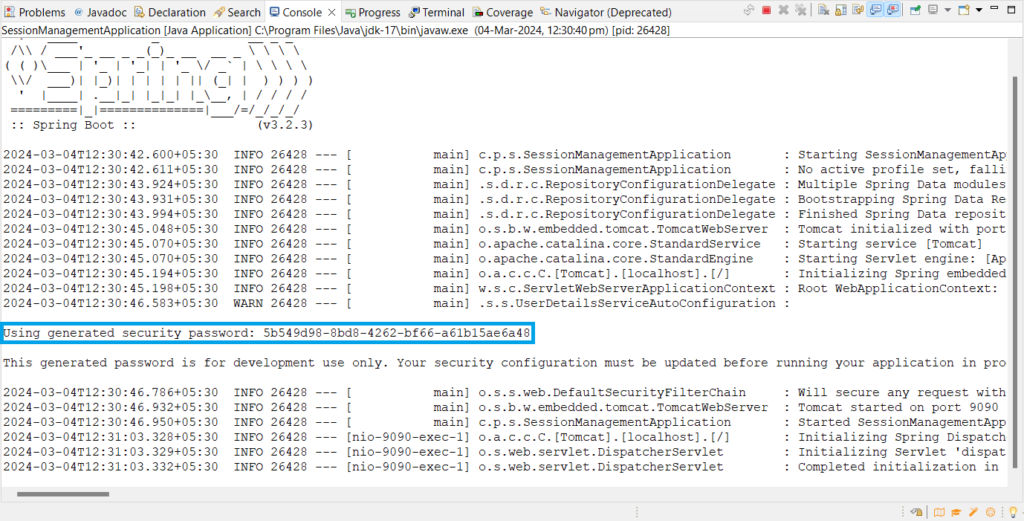
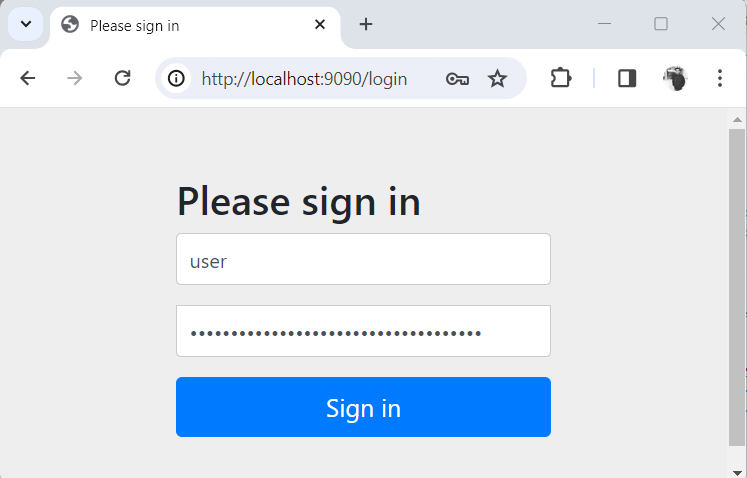
Now, we run out of session management applications. As we have added the Spring security dependency, Spring Boot has added a form-based authentication layer to the application. The default credentials for that authentication layer are the user as the username, and the password will get printed to the console.
Above, we can see our application is up, and we have our default password for Spring Security. We will hit our welcome API as we have added a spring security jar, which will open a form-based authentication.
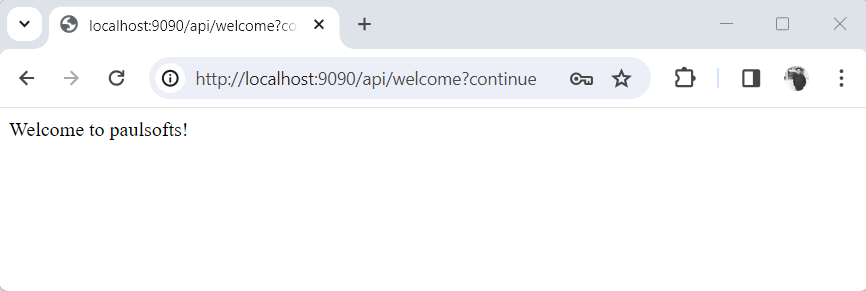
After we login using the default credentials, we can see our welcome message in the browser.
Step 5- Session Management
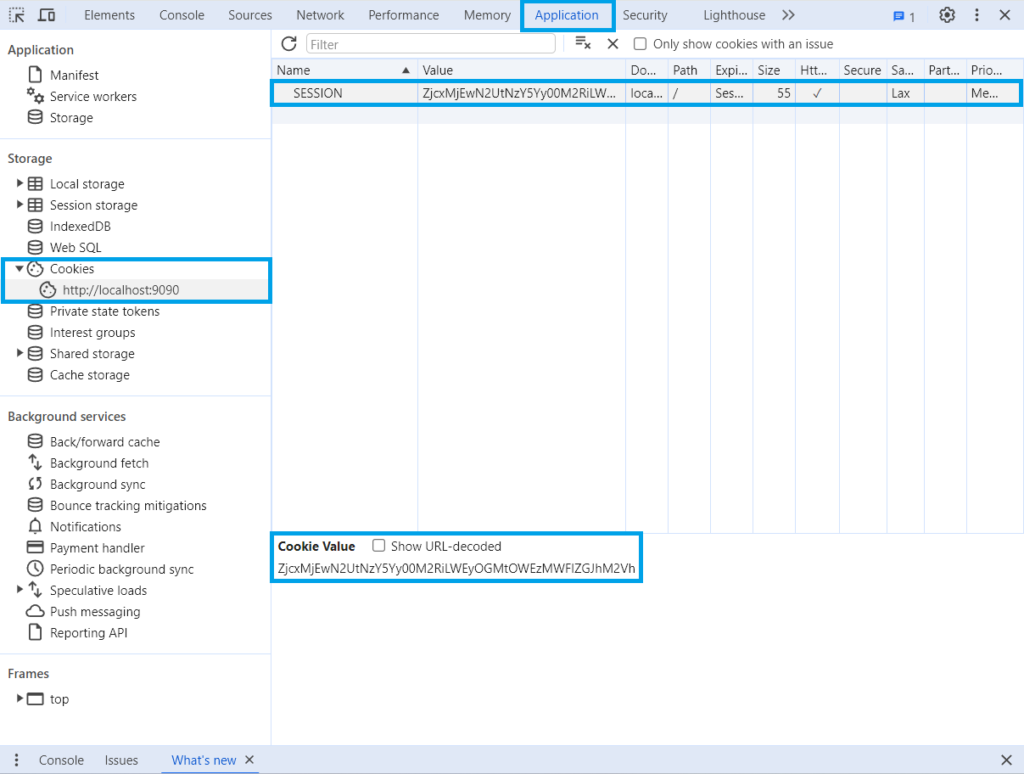
We have logged in to the application. We can inspect the browser and check for SESSION.
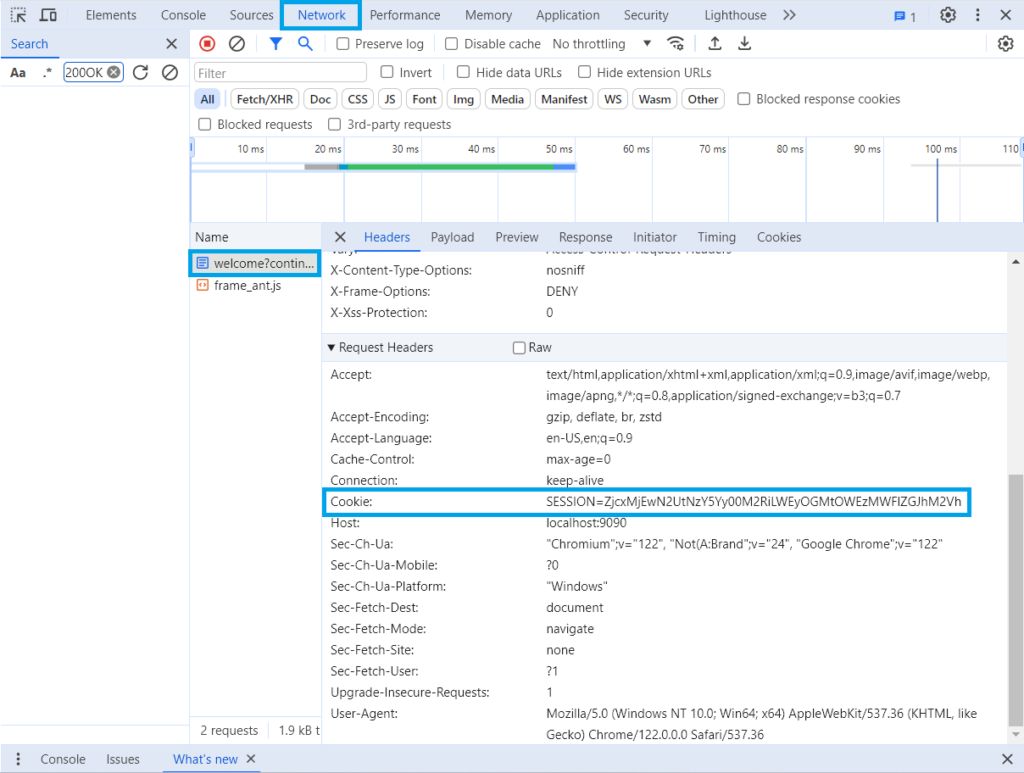
We can also see the request headers; they will contain the SessionID.
Step 6- Redis Session Keys
As we have used Redis for session management, We use the Redis CLI to verify Redis session keys.
Now, we have our session stored in Redis. We can restart our application, even though the Spring Security Jar will generate a new password, but we can refresh our browser or hit the welcome API again. We are not required to enter the password because we have maintained our session with the help of Spring Session Redis.
FAQs
How does session management works?
Usually, we create a session when a UI application establishes a secure connection with the backed application. This could be achieved using a SessionID that gets created by the backend application and then transferred to the UI, where the UI application uses the headers to transfer the SessionID back to the backend application.
What happens to SessionID when the application restarts or a new deployment happens?
When we restart the application or perform a new deployment of the application, the SessionID gets wiped out of the cache. We need to store these SessionIDs in a persistence store in order to reuse or restore them in a new instance.
